
How to Keep Your Whirlpool Range Control Knobs Working Smoothly — 8182049 Care Guide
Always turn off burners before removing knobs. Never use damaged or cracked knobs — they can fail during operation, leaving you unable to control heat safely.
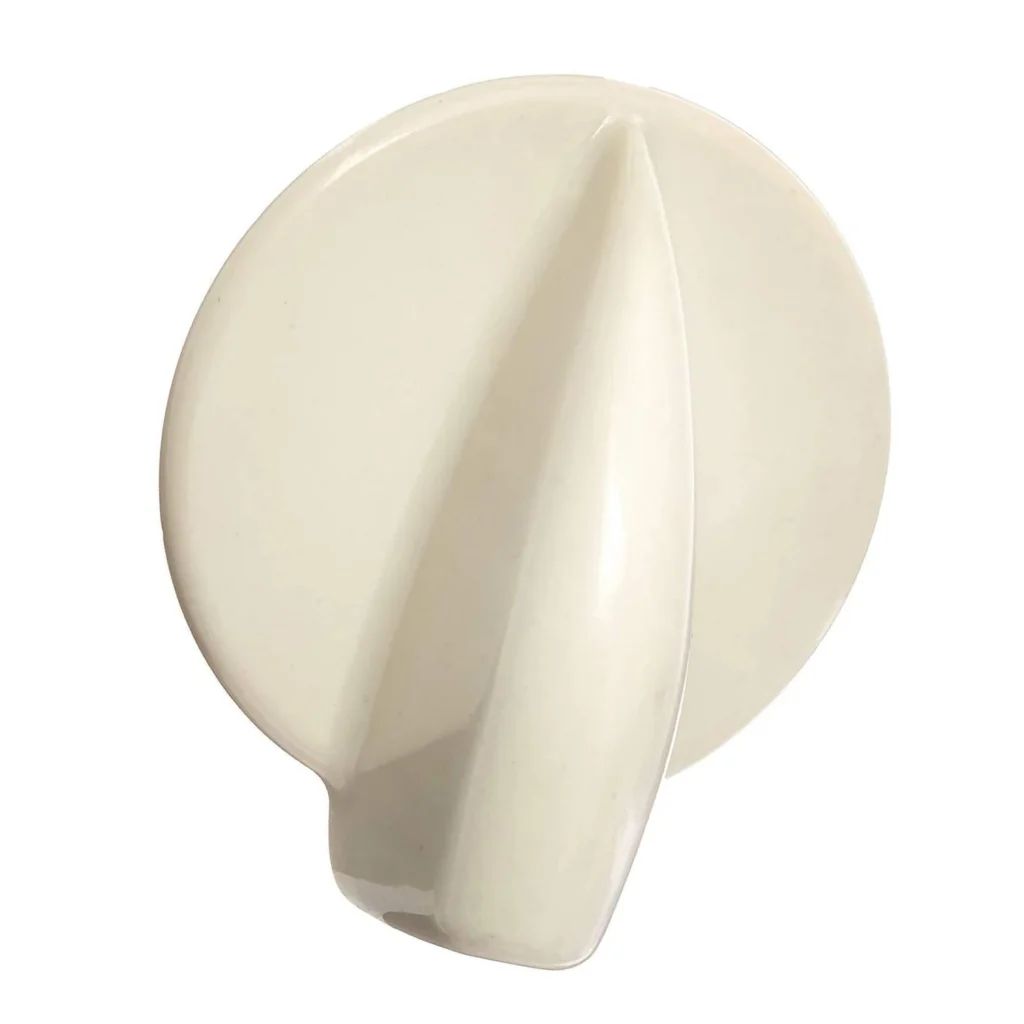
Control knobs are the most-touched part of your range. You twist them multiple times a day, sometimes with greasy fingers, sometimes when you're in a hurry. Most people don't think about them until one breaks off completely. But here's the thing: a bisque control knob like the 8182049 that fits dozens of Whirlpool and Kenmore ranges (including models GEW9200LL1, GEW9250PW0, GEW9260PW0) should last 8–12 years. Most fail around year 5. The difference? How you handle them.
How Long Should a Control Knob Last?
Factory expectations put these bisque knobs at 10+ years under normal use. That's about 15,000 turns. But kitchen reality is different — grease buildup weakens the plastic, aggressive turning cracks the internal teeth, and temperature changes from the cooktop make the material brittle over time.
The 8182049 is injection-molded ABS plastic with a metal insert for the control shaft. The bisque color hides minor staining better than white, but it's just as vulnerable to the same stress points: the D-shaped socket that grips the valve stem, and the outer ring where your fingers apply torque.
With proper care, you can push these knobs past their 10-year mark. Without it, you're replacing them every 3–4 years.
Signs Your Control Knob Is Wearing Out
Control knobs fail gradually, then suddenly. Here's what to watch for:
Loose or Wobbly Feel When Turning
If the knob spins freely or feels disconnected from the valve stem, the internal D-shaped socket is worn. This happens when grease gets inside and acts like sandpaper between plastic and metal. You'll notice it doesn't "click" into position like it used to — it overshoots or undershoots temperature settings.
Visible Cracks Around the Base or Insert
Check where the knob meets the control panel. Hairline cracks usually start there because that's where the most stress concentrates when you turn the knob. Heat from the cooktop accelerates this. Once a crack forms, it spreads fast — usually within 2–3 months you'll have a complete break.
Knob Pulls Off Too Easily or Won't Stay On
The grip should require a firm pull to remove. If it slides off with light pressure, the internal socket has expanded from heat cycling or chemical damage (usually oven cleaner overspray). This is dangerous — a knob that falls off mid-cooking leaves you with no way to adjust heat without pliers.
Cleaning Without Damaging
Most knob damage comes from cleaning with the wrong products. Here's what works:
Pull the knob straight off. Don't wiggle it side-to-side — that stresses the socket. Grip the outer edge, not the top, and pull directly away from the panel.
Wash with warm soapy water only. Dish soap and a soft cloth. No abrasive pads, no oven cleaner, no ammonia-based products. These chemicals attack ABS plastic and turn it chalky and brittle.
Dry completely before reinstalling. Water trapped in the socket promotes corrosion on the metal valve stem, which then grinds away the plastic every time you turn it.
Don't soak them. 30 seconds under running water is plenty. Extended soaking allows water to seep into microscopic gaps and weaken the material structure.
When to Replace vs Maintain
If the knob still grips firmly and turns smoothly, keep maintaining it. If you see any cracks, order a replacement now — they're under $15 and take less than 15 minutes to swap. One user put it perfectly: "I got the parts and to perform the task was as easy as pie. I feel so darn confident."
Don't wait until it breaks during cooking. A cracked knob that finally gives way can leave sharp plastic edges, and you're stuck trying to adjust burner heat with pliers while something's boiling over.
The 8182049 fits dozens of Whirlpool and Kenmore range models from the GEW9200 and GEW9250 series. Check your model number (usually inside the oven door or on the back panel) against the compatibility list. All you need is a screwdriver if the old knob is stuck.
Daily Habits That Extend Knob Life
Turn with your whole hand, not just fingertips. Spread the force across the entire knob surface. Pinch-turning with two fingers concentrates stress on one side.
Wipe up spills immediately. Grease and sugar-based liquids seep into the gap between knob and panel. They harden there and act like grinding compound.
Don't force it past the stop point. If the knob won't turn farther, it's at maximum. Forcing it cracks the internal stop tabs.
Remove knobs when cleaning the cooktop. This prevents chemical overspray and protects them from abrasive scrubbing that scratches the finish.
Frequently Asked Questions
Can I use the knob if it has a small crack?
Not safely. Even a hairline crack will propagate under normal use, usually failing completely within weeks. The knob can break off while turning, potentially leaving you unable to control burner heat quickly. Replace cracked knobs immediately — they're inexpensive insurance against a kitchen emergency.
Why does my bisque knob look yellowed or discolored?
Bisque plastic yellows from heat exposure and UV light over time. It's cosmetic, not structural, unless accompanied by surface chalking or brittleness. If the knob still turns smoothly and grips firmly, discoloration alone doesn't require replacement. Avoid bleach-based cleaners that accelerate yellowing.
How tight should the knob fit on the valve stem?
It should require a firm, deliberate pull to remove — not slide off easily, but not need tools either. The D-shaped socket inside should grip the valve stem with no play or wiggle when turned. If you can rotate the knob without the valve turning, the socket is worn and the knob needs replacement regardless of external appearance.
Element showing wear?
8182049 · Replace before it fully fails