
How to Replace WH10X20821 Washer Door Lock Assembly on GE Front-Load Washers — Step-by-Step
Unplug washer before starting. Door lock mechanism can pinch fingers. Residual water may be present in door boot.
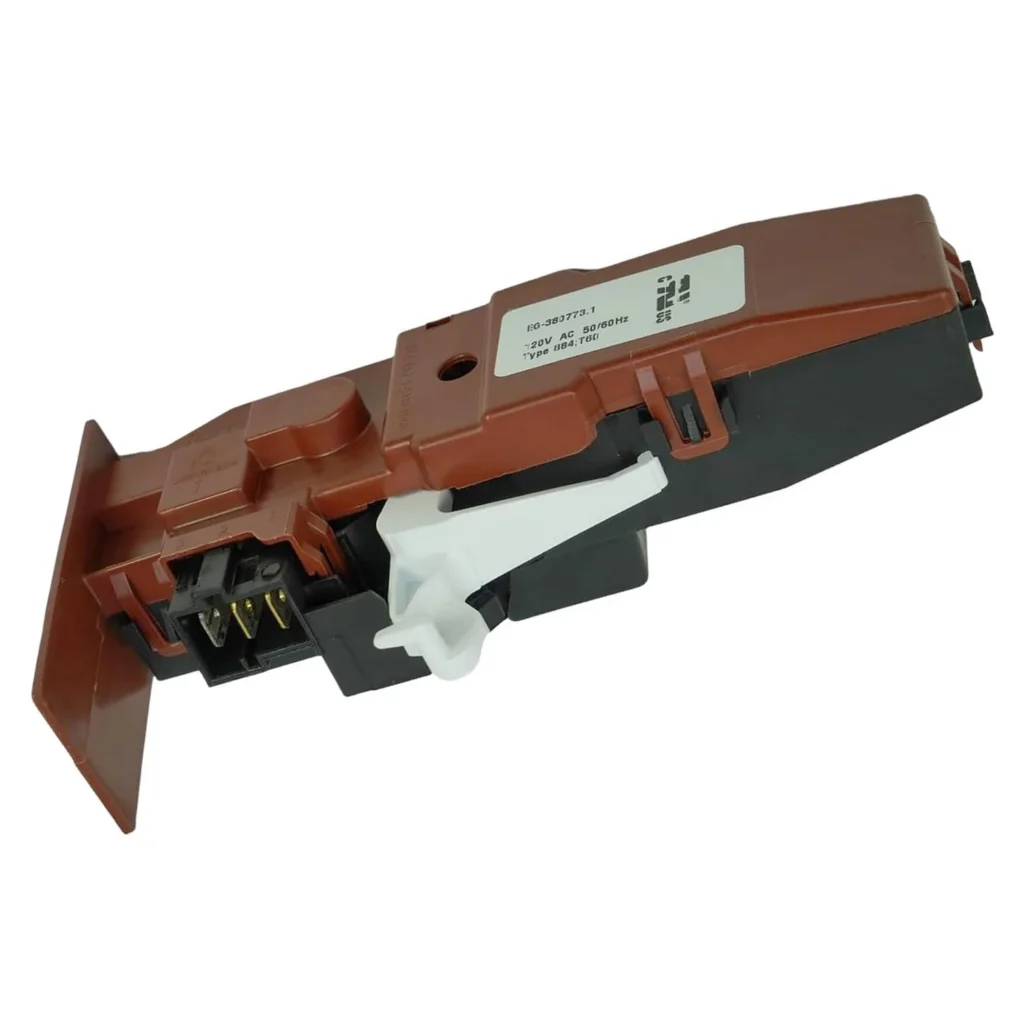
Your GE washer won't start, and the door lock light keeps blinking. You've checked the door, slammed it a few times, even unplugged the machine. Nothing. The door lock assembly has failed — it's one of the most common failures on GE front-load washers like the GFW450SSM0WW and GFWN1100H0WW. Here's how to replace the WH10X20821 door lock assembly yourself and save the $200+ service call.
What You Need Before Starting
This repair takes about 30-45 minutes and requires basic tools you probably already have:
- T20 Torx screwdriver
- Phillips screwdriver
- Flathead screwdriver or putty knife
- Work gloves (sharp edges on the door boot)
- Towel (to catch residual water)
Difficulty: Moderate — You'll need to work with the door boot clamp, which can be tricky.
Estimated Time: 30-45 minutes
Safety First
Warning: Unplug the washer before starting this repair. Even though you're working on a low-voltage component, the door lock mechanism can pinch fingers when you're wrestling with the door boot. There may also be residual water in the door boot — have that towel ready. If your model has had water sitting in it for days, expect it to smell funky when you pull the boot forward.
Step 1: Access the Door Lock Assembly
Open the washer door fully. You'll see the rubber door boot (gasket) that seals the drum. The door lock assembly sits at the bottom of the door opening, hidden behind this boot. Use your flathead screwdriver to carefully pry off the wire clamp that holds the front of the door boot to the washer frame — it's a spring-loaded band clamp. Work it loose by prying at the 6 o'clock position. Once the clamp is off, pull the front of the boot toward you to expose the door strike and lock assembly mounted on the frame.
Step 2: Disconnect the Wiring Harness
The door lock has a wiring harness with a gray connector. Press the locking tab and pull straight out — don't yank on the wires themselves. If the connector is stuck (they often are after years of humidity), wiggle it gently side to side while pulling. Take a quick photo of the wire routing before you disconnect anything — it'll save you confusion during reassembly.
Step 3: Remove the Old Door Lock
Three Torx screws hold the door lock assembly to the washer frame. Remove all three with your T20 driver. The lock assembly will come free, but the door strike (the plastic piece that latches into the lock) stays attached to the door itself — you're only replacing the lock mechanism on the frame. Pull the old lock assembly straight out and set it aside.
Step 4: Install the New WH10X20821 Lock Assembly
Position the new WH10X20821 lock assembly in the same orientation as the old one — the latch opening should face the door strike. The screw holes will line up with the frame mounting points. Thread in the three Torx screws and tighten them firmly, but don't overtighten (you're screwing into plastic). Reconnect the wiring harness until you hear it click.
Step 5: Reinstall the Door Boot
Pull the door boot back over the front panel edge, making sure it's seated evenly all the way around. The boot has a groove that fits over the panel lip. Once it's positioned correctly, work the wire clamp back into its groove. Start at the top and work your way around — you might need to use pliers to stretch the clamp over the boot and snap it into place. This part's a pain. Take your time.
Testing After Installation
Plug the washer back in. Close the door and start a rinse cycle. You should hear the door lock click within a few seconds, and the door lock indicator light should illuminate steadily (not flashing). Try to open the door while it's locked — it shouldn't budge. If the lock doesn't engage or the error code returns, double-check your wiring connection and make sure the door strike isn't damaged or misaligned.
Frequently Asked Questions
Will this work on my GE washer model?
The WH10X20821 door lock assembly fits dozens of GE front-load washer models, including the GFW450SSM0WW, GFWN1100H0WW, GFW400SCM0WW, GFWH1200H1WW, and GFWN1300J0WW. Check the model number tag inside your door opening or on the back panel — if it starts with GFW or GFWN and was made after 2015, this part likely fits.
Can I just replace the door strike instead of the lock?
Not usually. When your washer won't lock or shows a door lock error, the problem is almost always in the lock mechanism itself (the part on the frame), not the strike. The strike is just a passive plastic piece. If your strike is cracked or broken, that's a separate issue, but it won't cause lock failure errors.
Why does my washer keep showing a door lock error even after replacing the lock?
Three common causes: the wiring harness isn't fully seated (push harder until it clicks), the door strike is misaligned or damaged (inspect it closely), or there's a control board issue (rare, but possible). Also, make sure the door boot isn't bunched up and preventing the door from closing fully — the strike needs to engage completely with the lock.
Take a photo of the wiring harness before disconnecting — it helps during reassembly. Use pliers to stretch the door boot clamp back into place.
Need the part for this repair?
WH10X20821 · In Stock · Ships next business day