
How to Replace 4036ER2004A Washer Tub Seal Gasket on LG Front-Load Washers — Step-by-Step
Unplug washer completely and disconnect water supply before starting. Support tub assembly carefully when shock absorbers are disconnected.
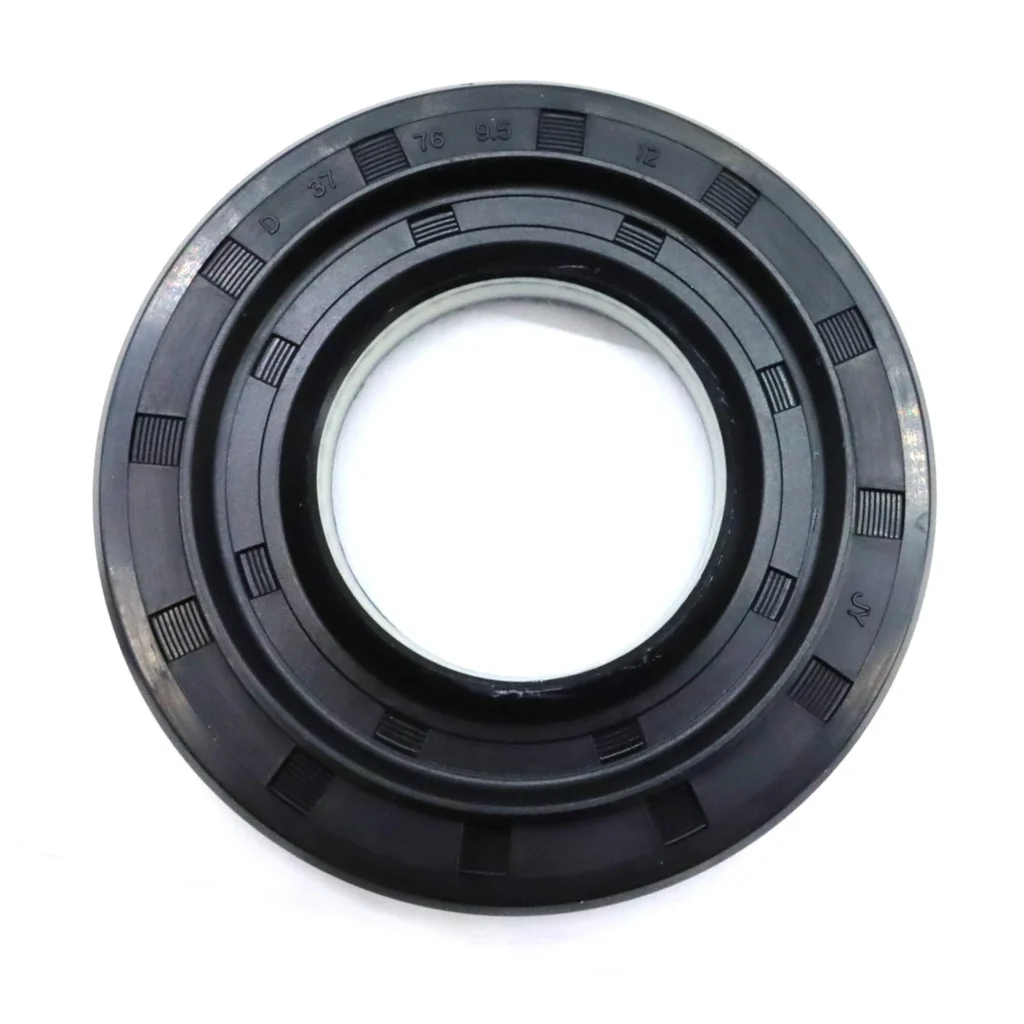
Water pooling under your LG washer after every cycle? The tub seal gasket might be your culprit. This rubber seal sits between the outer tub and inner basket, preventing water from escaping during the spin cycle. When it fails on models like the WM2032HW or WM2077CW, you'll see leaks from underneath — not from the door, but from the bottom of the machine itself.
What You Need Before Starting
This is an intermediate repair that requires disassembling the washer cabinet. Set aside a solid afternoon — rushing through this job leads to mistakes.
- Socket set (10mm, 13mm sockets most common)
- Flat-head and Phillips screwdrivers
- Needle-nose pliers
- Putty knife or trim removal tool
- Shop towels (there will be residual water)
- Small container for screws and clips
- Work gloves
- Helper (optional but recommended — that tub is heavy)
Repair Time: 2-3 hours
Difficulty: Intermediate — You'll need to disassemble the washer cabinet and work around the suspension system.
Safety First
Unplug the washer completely — don't just turn it off. Pull it away from the wall so you can access all sides. Shut off both hot and cold water supply valves, then disconnect the inlet hoses. Keep towels handy because water will drain from the hoses and possibly from inside the tub area when you tip the machine. Wear gloves when handling the old seal — it'll be slimy with detergent residue and possibly mold.
Step 1: Remove the Washer Cabinet
Pop off the detergent dispenser drawer. Behind it, you'll find two screws securing the top control panel — remove those. Lift the control panel up and prop it safely against the wall (don't disconnect the wires unless necessary). Remove the screws along the top rear edge of the cabinet. The entire outer cabinet should now slide back and lift off. On some LG models like the WM1811CW, there are additional clips at the bottom front corners — use your putty knife to release them.
Step 2: Access the Tub Assembly
With the cabinet off, you'll see the outer tub assembly. The seal you're replacing sits where the outer tub meets the inner basket's rotating shaft assembly. Disconnect the three shock absorbers at their bottom mounting points — this lets the tub move freely. You don't need to remove the springs or counterweights for this job. Carefully support the tub as you work — it's held by springs but it'll shift around.
Step 3: Remove the Old Tub Seal
The old seal is wedged into a groove between the tub halves. Start at any point and work the seal out with your fingers or needle-nose pliers. It'll resist at first — that's normal. Work your way around the entire circumference. Once you've loosened one section, the rest comes easier. Clean the groove thoroughly with shop towels. Any detergent buildup or gunk will prevent the new seal from seating properly and you'll be right back where you started in six months.
Step 4: Install the New 4036ER2004A Seal
Start at the 12 o'clock position. Press the new seal into the groove, working with small sections at a time. Don't stretch it — the seal should fit naturally around the circumference. Work your way around clockwise, pressing firmly to seat it completely. When you reach your starting point, make sure there are no gaps or twists. Run your finger around the entire seal to verify it's seated evenly. Any high spots or gaps will leak immediately.
Step 5: Reassemble and Test
Reconnect the three shock absorbers to their lower mounting points. Slide the cabinet back on — make sure all the clips engage properly at the bottom. Replace the top screws, reattach the control panel, and pop the dispenser drawer back in. Reconnect the water hoses (hot on the left, cold on the right). Plug in the washer. Run a rinse-and-spin cycle with no clothes. Watch underneath with a flashlight during the spin cycle. No drips? You're golden.
Testing After Installation
Don't just run one cycle and call it done. Run a full normal wash cycle with a small load. Check underneath multiple times during different phases — fill, wash, drain, and especially during the high-speed spin. Leaks from a poorly seated tub seal usually show up during spin when water pressure is highest. If you see even minor seepage, you'll need to remove the cabinet again and reseat that seal. It's frustrating but better than water damage to your floor.
Frequently Asked Questions
Will this seal fit my Kenmore washer that was made by LG?
Yes. Many Kenmore front-loaders from the 2000s and 2010s were manufactured by LG and use identical parts. Check your model number against the compatibility list — models like 796.41272013 or 796.41283013 use this exact seal. The LG and Kenmore versions are interchangeable because they're the same washer with different badges.
How do I know if the tub seal is bad versus the door boot seal?
Location of the leak tells you everything. Door boot leaks happen during fill and wash — water comes from the front, usually dripping from the door area. Tub seal leaks happen during spin cycle and come from underneath the machine. If you're finding water pooled under the washer but the door area is bone dry, it's the tub seal every time.
Can I reuse the old seal if it still looks okay?
Terrible idea. That seal has been compressed for years and has taken a permanent set. Even if it looks fine, it's lost its sealing ability. You're already 90% through the job with the cabinet off — spending $23.99 on a new seal beats doing this repair twice. Plus, once you pull the old seal out, it stretches and deforms. There's no going back.
Clean the seal groove thoroughly before installing the new seal. Any detergent residue or debris will cause premature seal failure.
Need the part for this repair?
4036ER2004A · In Stock · Ships next business day