
How to Replace 7627813 Ice Thickness Control Probe on Manitowoc Commercial Ice Machines — Step-by-Step
Always disconnect power at the breaker before working on commercial ice machines. Water and electricity create serious shock hazards.
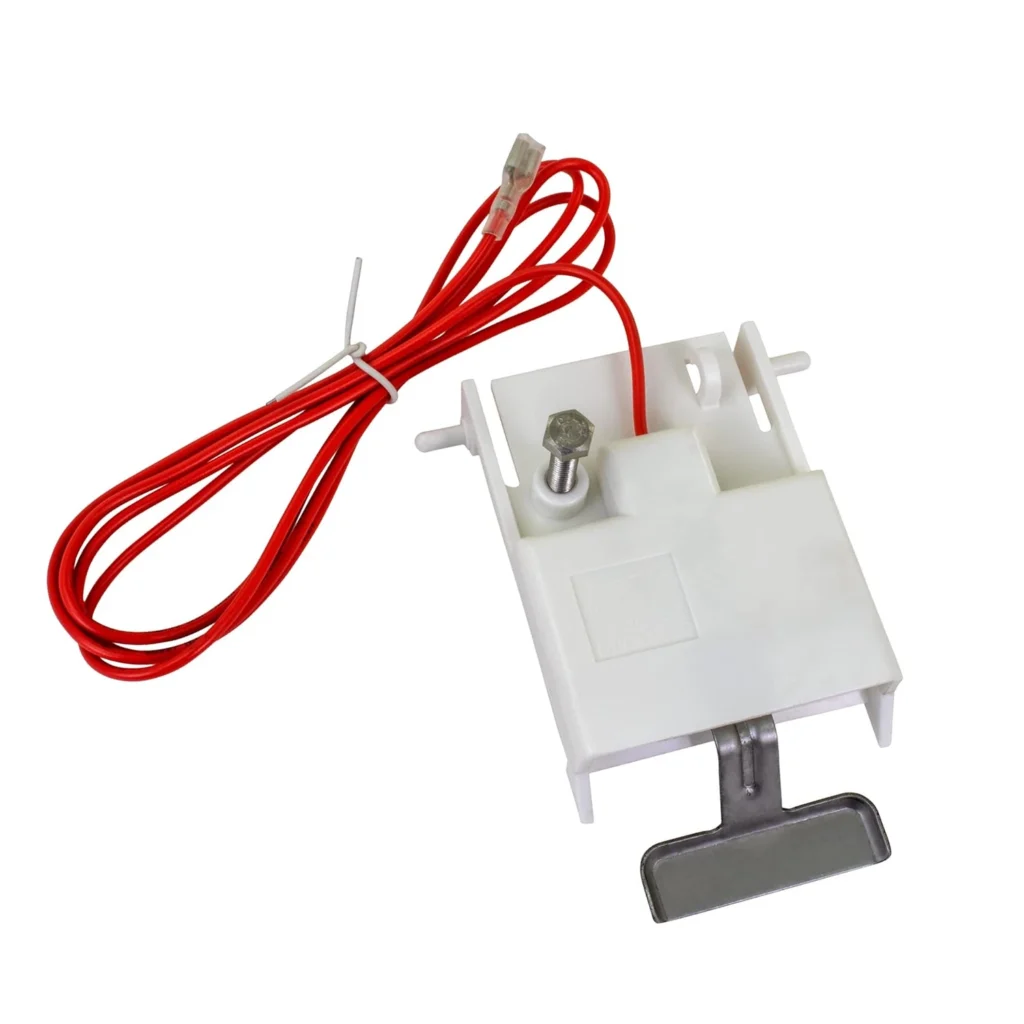
Your Manitowoc ice machine is dropping cubes too thin or freezing into a solid block. Nine times out of ten, that's your ice thickness control probe failing. This small probe—part number 7627813—tells your machine when the ice has reached the right thickness. When it goes bad, your machine loses its ability to judge when to harvest.
I've replaced dozens of these probes on Manitowoc B, J, and Q series machines. The good news? It's a straightforward swap that most operators can handle in under 30 minutes. You're basically unplugging the old probe, removing two mounting screws, and reversing the process with the new one.
What You Need Before Starting
Here's what you'll need for this repair:
- Phillips head screwdriver
- Flathead screwdriver (for tight terminals)
- Flashlight or headlamp
- Towel (for any residual water)
- Camera phone (to photograph wire connections)
Estimated Time: 25-35 minutes
Difficulty: EASY
This part works across the entire Manitowoc lineup: BD0202A, BD0422A, BD0802A, BD1302A, BR0200A, BR0600A, IB0622DC, IB0822DC, and over 40 other models in the B, J, and Q series. Check your machine's model plate to confirm compatibility.
Safety First
Warning: Always disconnect power at the breaker before working on commercial ice machines. Water and electricity don't mix. Even though this is a simple probe replacement, you're working near electrical connections and potentially wet surfaces. Tag the breaker so nobody flips it back on while you're working. If your machine has been running, give it 10 minutes to equalize pressure in the refrigeration system before opening any panels.
Step 1: Access the Evaporator Compartment
Kill the power at the breaker. Remove the front panel by loosening the screws at the bottom—most Manitowoc units have two or three Phillips screws holding it in place. Swing the panel out and set it aside. You'll see the evaporator plate where the ice forms. The thickness probe is mounted on the right side of the evaporator, sticking into the ice-forming area.
Take a photo of the wire connections before touching anything. Trust me on this—it makes reassembly foolproof.
Step 2: Disconnect the Probe Wiring
The 7627813 probe has two wire terminals. They're usually quick-disconnect spade terminals, but some older models might have screw terminals. If it's spade terminals, gently pull them straight off—don't twist. If they're tight, use a flathead screwdriver to gently pry between the terminal and the probe. For screw terminals, simply loosen the screws counterclockwise and pull the wires free.
Label the wires if they're not color-coded. Most Manitowoc machines use consistent wiring, but better safe than sorry.
Step 3: Remove the Old Probe
The probe is held by a metal mounting bracket with two screws. Remove these screws and keep them—you'll reuse them. The probe should slide right out of its mounting hole. If it's stuck, there might be mineral buildup or ice. Let it warm up for a few minutes or use a hairdryer on low heat to loosen things up. Don't force it—you don't want to damage the evaporator plate.
Step 4: Install the New 7627813 Probe
Slide your new probe into the mounting hole. The sensing end should extend into the evaporator area where ice forms, with about 1/4 inch protruding past the evaporator surface. Position the mounting bracket and thread in those two screws. Snug them down firmly, but don't overtighten—you're threading into aluminum or steel, and you can strip it if you get aggressive.
The probe needs to sit straight and centered. If it's angled, ice won't form evenly around it, and you'll have thickness problems again.
Step 5: Reconnect Wiring and Test
Connect the wire terminals to your new probe. Match them to your photo from Step 1. Push spade terminals on firmly until they click or seat completely. If you have screw terminals, tighten them snugly—enough that the wire won't pull out, but not so tight you crush the wire.
Give each wire a gentle tug to confirm it's secure. A loose connection here will cause intermittent problems that'll drive you crazy troubleshooting later.
Testing After Installation
Replace the front panel and restore power at the breaker. Set your machine to ice-making mode and let it run through a complete cycle. Watch the first harvest—the ice should release when it reaches proper thickness, typically between 1/4 and 3/8 inch depending on your machine's settings.
If the ice is too thin, the probe might not be positioned correctly—it needs to extend into the ice-forming area. If ice freezes solid and won't harvest, double-check your wire connections. The probe works by sensing temperature change as ice builds around it, so proper positioning is critical.
Run the machine through three or four cycles to confirm consistent ice thickness. You should see uniform cube formation across the entire evaporator plate.
Frequently Asked Questions
How do I know if my ice thickness probe is bad?
The telltale signs are ice that's too thin (almost wafer-like) or ice that freezes into a solid slab and won't release during harvest. You might also see inconsistent ice thickness—thick on one cycle, thin on the next. If your machine is making weird ice but everything else checks out (water flow, refrigerant pressures, bin control), the thickness probe is your likely culprit.
Will this probe work on my specific Manitowoc model?
The 7627813 probe fits all Manitowoc B, J, and Q series ice machines. That includes models like the BD0422A, BD0802A, BR0600A, IB0622DC, and dozens more. Check the compatible models list on the product page—if your model number is there, you're good to go. This probe replaces original part numbers 76-2781-3 and 2008029.
Can I adjust the ice thickness after installing the new probe?
Yes, but the probe itself isn't adjustable—you adjust ice thickness through your machine's control board settings. Most Manitowoc units have a thickness adjustment screw or digital setting accessible from the control panel. After installing the probe, run several cycles first to see what thickness you're getting, then adjust if needed. The probe just reports temperature to the board; the board makes the harvest decision based on your settings.
Take a photo of wire connections before disconnecting anything—it makes reassembly foolproof and saves troubleshooting headaches later.
Need the part for this repair?
7627813 · In Stock · Ships next business day