
How to Replace DD82-01118A ECS Temperature Sensor on Samsung Dishwasher — Step-by-Step
Disconnect power at the circuit breaker and turn off water supply before starting this repair. Residual water in the sump area is normal.
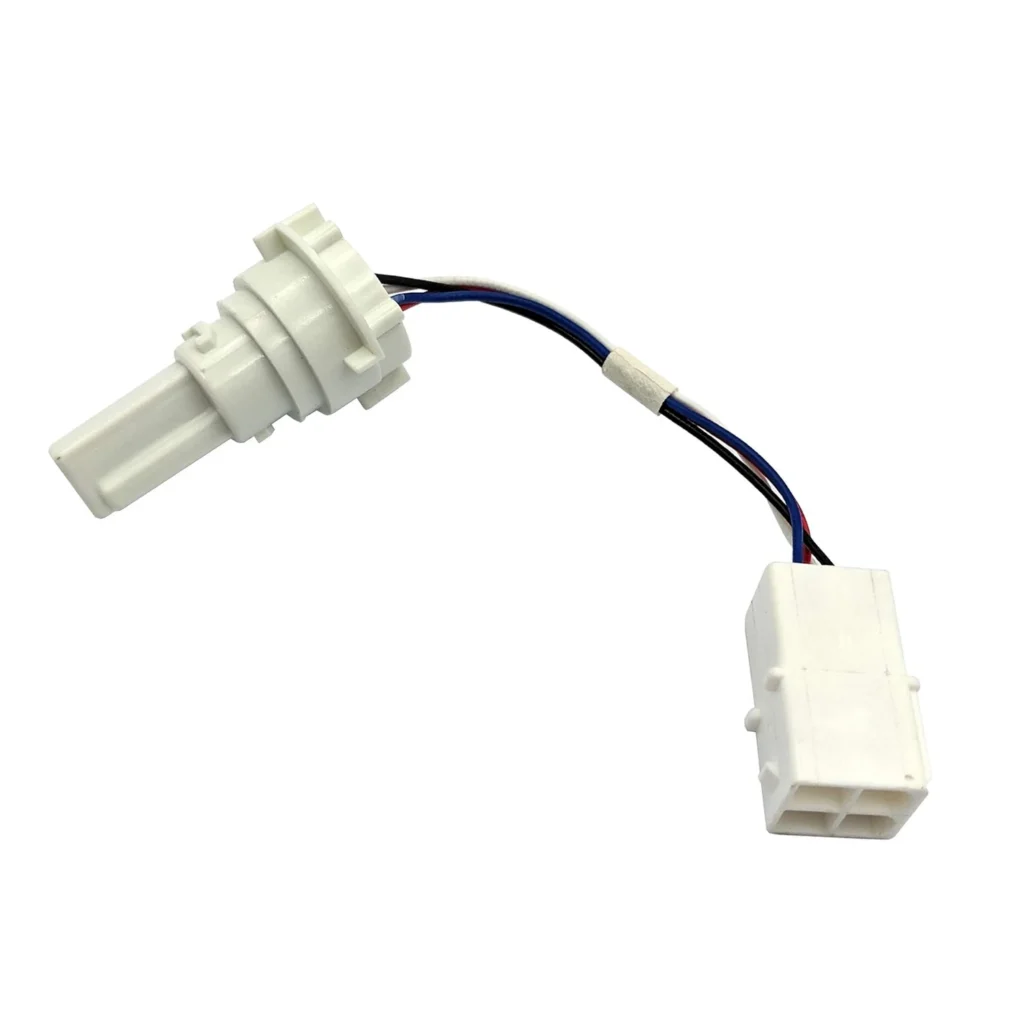
Your Samsung dishwasher's display is flashing an LE error code, and the cycle stops mid-wash with cold water still sitting in the tub. This frustrating scenario often points to a failed ECS temperature sensor assembly — the component that tells your dishwasher when water has reached the right temperature for optimal cleaning. The DD82-01118A sensor is a common failure point on models like the DW80F600UTB, DW80F800UWS, and DW80J3020US series.
What You Need Before Starting
This repair takes about 30-45 minutes and requires moderate technical skill. You'll be working inside the dishwasher's lower spray arm area and accessing the sump assembly.
- Phillips head screwdriver
- Flathead screwdriver
- Towels or shop rags (for residual water)
- Small bucket or container
- Needle-nose pliers (optional, but helpful)
- Flashlight or work light
Difficulty: Moderate | Time Required: 30-45 minutes
Safety First
Disconnect power to your dishwasher at the circuit breaker before you start. Even though you're working with a low-voltage sensor, you'll be near the main control components. Turn off the water supply valve under your sink as well. There will be some residual water in the sump area, so keep those towels handy — this isn't a huge mess, but you'll want something to catch the water that drains out when you access the sensor.
Step 1: Access the Dishwasher Interior
Open your dishwasher door fully and remove both dish racks. Pull out the lower spray arm by turning it counterclockwise — it should lift right off once you've turned it about a quarter turn. Set it aside. Next, remove the cylindrical filter assembly in the center of the tub floor by turning it counterclockwise and lifting straight up. You'll now see the sump cover underneath.
Step 2: Remove the Sump Cover
The sump cover is held in place by several Phillips screws — typically three or four depending on your model. Remove these screws completely and set them aside where they won't roll away. Carefully lift the sump cover straight up. You might need to wiggle it slightly as there's a rubber gasket seal. Once it's off, you'll see the heating element and the temperature sensor assembly mounted to the side of the sump housing.
Step 3: Disconnect and Remove the Old Sensor
The ECS temperature sensor is a small cylindrical component with a wire harness connector. Locate it on the right side of the sump — it's usually secured with a mounting clip or bracket. Press the tab on the wire connector and pull it straight off. The sensor itself is typically held by a plastic clip that you can release with a flathead screwdriver. Gently pry the clip open and slide the old sensor out of its mounting hole. Some water may dribble out — this is normal.
Step 4: Install the New DD82-01118A Sensor
Take your new DD82-01118A sensor and check that the rubber O-ring seal is properly seated on the sensor body. This seal is crucial for preventing leaks. Slide the sensor into the mounting hole until you feel it seat fully, then secure it with the plastic clip. You should hear or feel a click when it locks in place. Connect the wire harness — it only goes one way, so don't force it. You'll hear a distinct click when it's properly connected.
Step 5: Reassemble and Test
Reinstall the sump cover, making sure the rubber gasket is aligned properly. Tighten the Phillips screws in a star pattern to ensure even pressure — don't overtighten or you might crack the plastic housing. Replace the filter assembly by turning it clockwise until it locks, then reinstall the lower spray arm the same way. Put the dish racks back in place.
Testing After Installation
Turn the water supply back on and check for leaks around the sump area before you restore power. Once you're confident there are no leaks, turn the circuit breaker back on. Run a short rinse cycle without dishes and watch for the LE error code. The dishwasher should complete the cycle normally, and you should feel the water getting hot during the wash phase. If the error persists, double-check your wire connection — sometimes it feels connected but isn't fully seated.
Frequently Asked Questions
Will this sensor work on my DW80F600UTB if the model number ends in different letters?
Yes, the DD82-01118A is compatible with all suffix variations of the DW80F600UTB, DW80F600UTS, and DW80F600UTW models. The suffix letters typically indicate color or minor trim differences, but the internal components remain the same. This sensor also replaces the older DD82-01111A part number.
Can I test the old sensor to confirm it's actually bad?
You can test it with a multimeter set to measure resistance (ohms). At room temperature, a functioning thermistor sensor should read between 10,000 and 50,000 ohms depending on the exact temperature. If you get an open circuit (infinite resistance) or a short (near zero resistance), the sensor has definitely failed. However, intermittent failures are common and won't always show up in a simple bench test.
Do I need to reset the dishwasher after replacing the sensor?
Most Samsung dishwashers will automatically clear the LE error once they detect proper sensor readings during the next cycle. If the error code persists after running a complete wash cycle with the new sensor installed, try resetting by holding the Start button for 3 seconds, or by turning off the circuit breaker for 5 minutes. This forces the control board to re-read all sensor values from scratch.
Check that the O-ring seal is properly seated on the new sensor before installation to prevent leaks. Tighten sump cover screws in a star pattern for even pressure.
Need the part for this repair?
DD82-01118A · In Stock · Ships next business day