
How to Replace DD59-01003A Detergent & Rinse Aid Dispenser Assembly on Samsung Dishwasher — Step-by-Step
Disconnect power at circuit breaker before starting work. Inner door springs are under tension during disassembly.
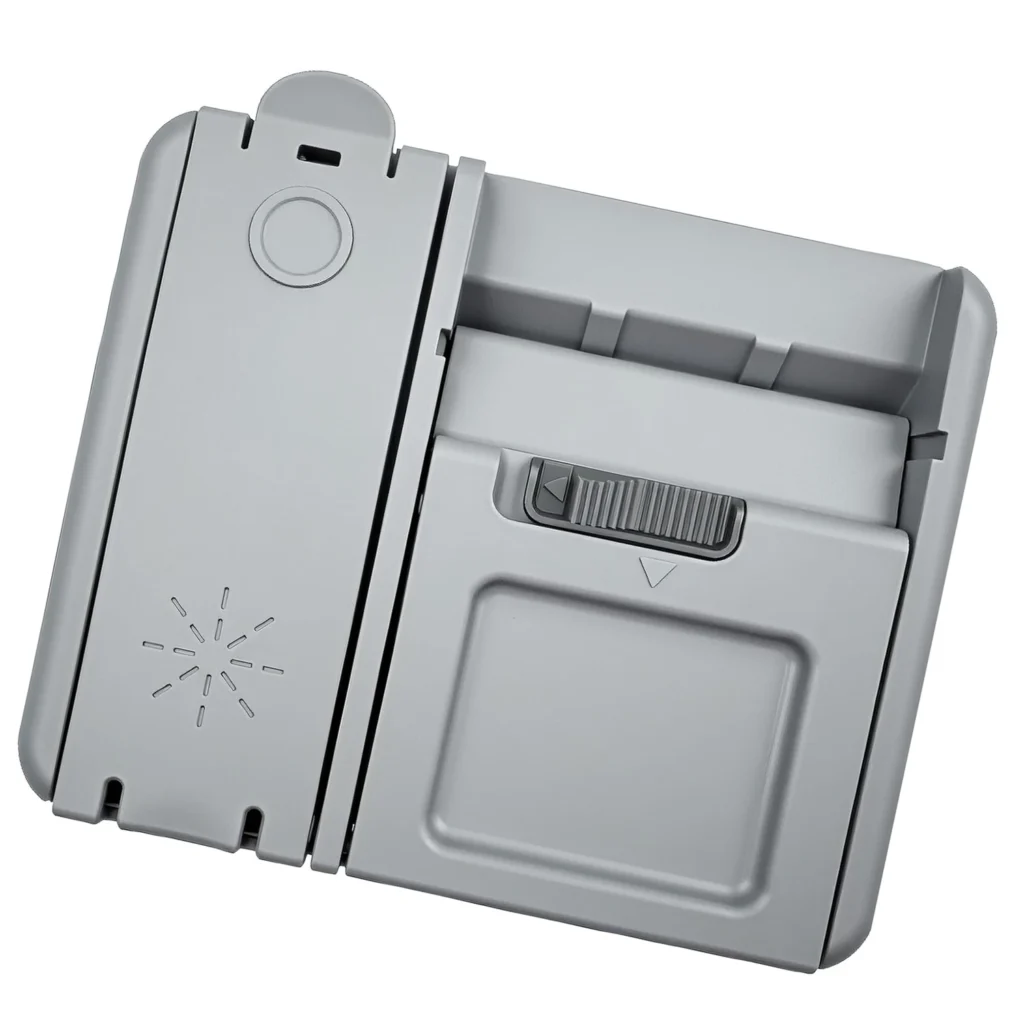
Your Samsung dishwasher finishes its cycle, but when you open the door, you notice the detergent pod sitting untouched in the dispenser. Or maybe the rinse aid indicator won't stop blinking even though you just refilled it. These are classic signs your DD59-01003A dispenser assembly has failed — and you're looking at dishes that aren't getting properly cleaned because soap isn't releasing at the right time.
This dispenser assembly controls both detergent and rinse aid delivery during your wash cycles. When it fails, the mechanical or electronic actuator that opens the soap door stops working. The good news? This is a straightforward replacement that doesn't require a service call if you're comfortable working with basic tools.
What You Need Before Starting
Tools required:
- Phillips screwdriver (#2)
- Torx screwdriver (T15)
- Flat-head screwdriver
- Towel or rag for any residual water
- Camera or phone (to document wire connections)
Estimated repair time: 35-45 minutes
Difficulty level: Intermediate — Requires removing inner door panel
Safety First
Before starting any work, disconnect power to your dishwasher at the circuit breaker. Water may drain from dispenser area when you remove the old assembly, so keep towels handy. The inner door panel contains springs under tension — be careful when removing screws along the bottom edge. Wear safety glasses when working near the spring clips.
Step 1: Access the Inner Door Panel
Open the dishwasher door fully. You'll see screws around the perimeter of the inner door panel — typically 6-8 Torx or Phillips screws. Remove all screws along the top edge first, then the sides. Save the bottom screws for last, as they hold spring tension. Once all screws are removed, carefully lift the inner panel away from the outer door, tilting the bottom edge out first to release the spring clips.
Step 2: Disconnect the Old Dispenser Assembly
With the inner panel removed, you'll see the dispenser assembly mounted to the outer door. Take a photo of all wire connections before disconnecting anything — there are typically 2-3 wire harnesses connecting to the dispenser. Press the locking tabs and pull each connector straight out. The DD59-01003A assembly is held in place by 3-4 screws or clips around its perimeter. Remove these fasteners and carefully pull the assembly away from the door.
Step 3: Prepare the New DD59-01003A Assembly
Unpack your new dispenser assembly and compare it to the old unit to verify you have the correct part. Check that the rinse aid reservoir cap is included and that the detergent door opens and closes smoothly by hand. Some assemblies arrive with protective tape on the rinse aid sensor — remove this before installation or your indicator light will malfunction.
Step 4: Install the New Dispenser
Position the new DD59-01003A assembly into the mounting location on the outer door. The orientation matters — the rinse aid fill cap should be clearly visible from inside the dishwasher when installed correctly. Secure with the original screws or clips. Hand-tighten only; overtightening can crack the plastic housing. Reconnect all wire harnesses, using your reference photo to ensure correct connections. You should hear a click when each connector locks into place.
Step 5: Reassemble the Door Panel
Position the inner door panel back onto the door frame. Start by engaging the bottom spring clips first — this requires some pressure but shouldn't need excessive force. Once the bottom edge is seated, align the panel and reinstall all perimeter screws. Tighten in a cross pattern to ensure even pressure. Don't overtighten the bottom screws where the springs attach, as this can deform the panel.
Testing After Installation
Restore power at the circuit breaker. Run a rinse cycle without dishes to test the dispenser operation. Listen for the dispenser door releasing about 5-10 minutes into the cycle — you should hear a distinct click or pop. After the cycle, open the door and verify the detergent compartment opened. Fill the rinse aid reservoir and check that the indicator light responds correctly. If everything works, run a full wash cycle with dishes to confirm proper cleaning performance.
Frequently Asked Questions
Will this work on my DW80R7060US or DW80R9950US model?
Yes, the DD59-01003A is the correct dispenser assembly for all Samsung DW80R series dishwashers, including the DW80R7060US/AA, DW80R7060UG/AA, DW80R9950US/AA, and DW80R9950UG/AA models. It replaces part numbers AP6975657, PS12740667, and 4974901. Always verify your model number on the label inside the door frame before ordering.
Why does my new dispenser leak rinse aid after installation?
Check that the rinse aid cap is fully tightened and seated properly — it should thread in smoothly without cross-threading. Also verify the reservoir isn't overfilled; fill only to the max line indicator. If leaking persists from around the assembly edges, the mounting screws may be too tight, causing stress cracks in the plastic housing.
The dispenser door opens but detergent still doesn't dissolve — what's wrong?
If the mechanical door releases correctly but soap isn't dissolving, the problem isn't the dispenser assembly. Check your water temperature — it should reach at least 120°F for proper detergent activation. Also verify the spray arms aren't blocked and that water pressure is adequate. The DD59-01003A controls door release timing, but water delivery depends on other system components.
Take photos of all wire connections before disconnecting. Remove protective tape from rinse aid sensor before installation.
Need the part for this repair?
DD59-01003A · In Stock · Ships next business day