
How to Replace W10134009 Dishwasher Heating Element on Whirlpool Kenmore Maytag — Step-by-Step
Disconnect power at the circuit breaker before starting — never rely on the door switch alone when working with heating element wiring
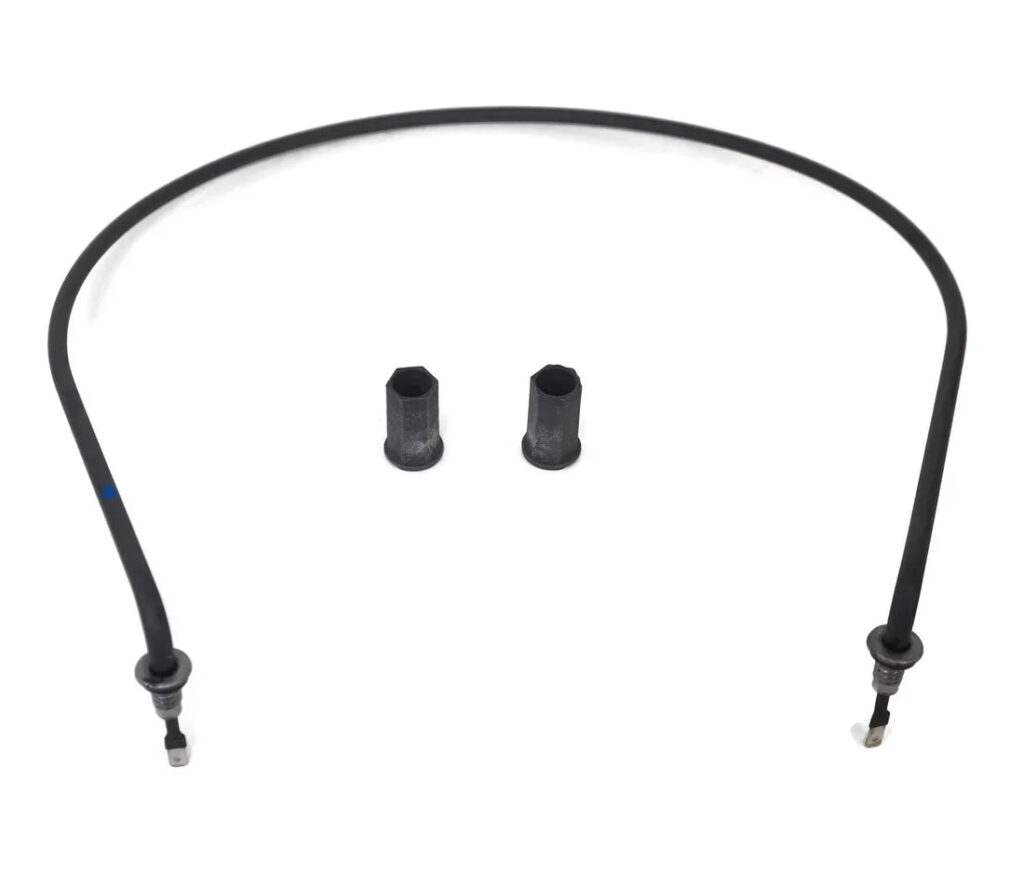
Your Whirlpool WDF520PADM7 finishes its cycle, but when you open the door, everything's still wet. Plates have water pooling in the bowls. Plastic containers are dripping. You're stuck hand-drying everything or running another cycle that doesn't help. Nine times out of ten, it's a failed heating element — and replacing the W10134009 element takes about 30 minutes with basic tools.
What You Need Before Starting
This is a straightforward repair. You'll need:
- 1/4-inch nut driver or socket set
- Needle-nose pliers
- Towels (for residual water)
- Multimeter (optional, for testing old element)
- Flashlight
Repair time: 25-35 minutes
Difficulty: Easy
Safety First
Disconnect power at the circuit breaker before starting. Don't just rely on the door switch. Water and electricity don't mix, and you'll be working around wiring connections. Turn off the water supply under the sink if you're removing the dishwasher completely, though you can do this repair without pulling the unit out on most models.
Step 1: Access the Lower Spray Arm Assembly
Pull out the bottom dish rack completely. The lower spray arm typically twists counterclockwise or pulls straight up — check your model. Once removed, you'll see a spray arm support or filter assembly covering the sump area. Remove the screws or twist-lock mechanism holding this in place. On the WDT720PADM2 and similar models, there's a center cap that unscrews.
Step 2: Remove the Sump Cover and Filter Housing
Lift out the filter assembly. You'll see a circular cover plate with 3-4 screws around the perimeter — these are typically 1/4-inch hex head screws. Remove them and lift the cover plate straight up. Water will likely drain out here, so have your towel ready. The heating element loops through the bottom of the tub and connects underneath.
Step 3: Disconnect the Old Heating Element
Look underneath the tub where the element terminals protrude. You'll see two wire connectors — one on each terminal. Pull these straight off. If they're corroded (common with failed elements), wiggle them gently with pliers. Notice how the element is secured with a mounting bracket or nut on each terminal. Use your nut driver to remove these nuts. Keep them — you'll reuse them with the new W10134009 element.
Step 4: Remove the Failed Element
From inside the tub, gently pull the old element upward and out through the sump opening. It'll have a rubber gasket around it — this usually comes out with the element. If the gasket stays stuck in the hole, pry it out carefully with a flathead screwdriver. Clean any mineral deposits or debris from the mounting holes before installing the new element.
Step 5: Install the W10134009 Replacement Element
Position the new gasket (included with your W10134009 element) into the mounting holes from the top. Push the element terminals through from above, seating the gasket fully. Go underneath and thread on the mounting nuts finger-tight first, then snug them down with your nut driver. Don't overtighten — you'll crack the porcelain tub. Reconnect the wire terminals, pushing until you feel them click or seat firmly.
Step 6: Reassemble and Test
Replace the sump cover plate and screws. Reinstall the filter housing, spray arm support, and lower spray arm in reverse order. Push the bottom rack back in. Restore power at the breaker and run a quick rinse cycle. After 10 minutes, carefully open the door slightly — you should feel heat radiating from inside if the element's working. Let it complete a full heated dry cycle to confirm.
Testing After Installation
Run a complete wash cycle with the heated dry option enabled. At the end, dishes should be hot to the touch and mostly dry within 15-20 minutes of the cycle ending. If you still have wet dishes, check that both wire connections are fully seated — a loose connection is the most common installation mistake. You can also test the element's resistance with a multimeter (should read 15-30 ohms between terminals).
Frequently Asked Questions
Will this fix dishes not getting clean?
Sometimes. The heating element does more than just dry — it heats the water throughout the wash cycle. If your water isn't reaching 120-150°F, detergent won't activate properly and grease won't dissolve. A failed element can cause both poor cleaning and poor drying. However, if dishes aren't getting clean but they're drying fine, look at your spray arms and water inlet valve instead.
Why does my dishwasher trip the breaker now?
A shorted heating element will trip breakers or blow the thermal fuse. If your WDF320PADW1 won't start at all after previously showing wet dish symptoms, the element likely failed in a shorted condition. Replacing it should fix both issues. Always disconnect power before replacing to avoid damage to the control board.
Do I need to remove the entire dishwasher to replace this?
No. The W10134009 element installs from inside the tub on Whirlpool, Kenmore, Maytag, and Amana models. You need access underneath to reach the wire connections and mounting nuts, but you don't have to pull the unit out. Just open the lower cabinet door under your sink — you'll see the dishwasher's underside. On some installations with tight spaces, removing the kick plate gives better access.
Clean mineral deposits from the mounting holes before installing the new element for a better seal and longer element life
Need the part for this repair?
W10134009 · In Stock · Ships next business day