
How to Replace 8523793 Surface Burner Spark Electrode on Whirlpool Gas Range — Step-by-Step
Turn off gas supply valve and unplug range completely before starting repair. Allow cooktop to cool 30 minutes after use.
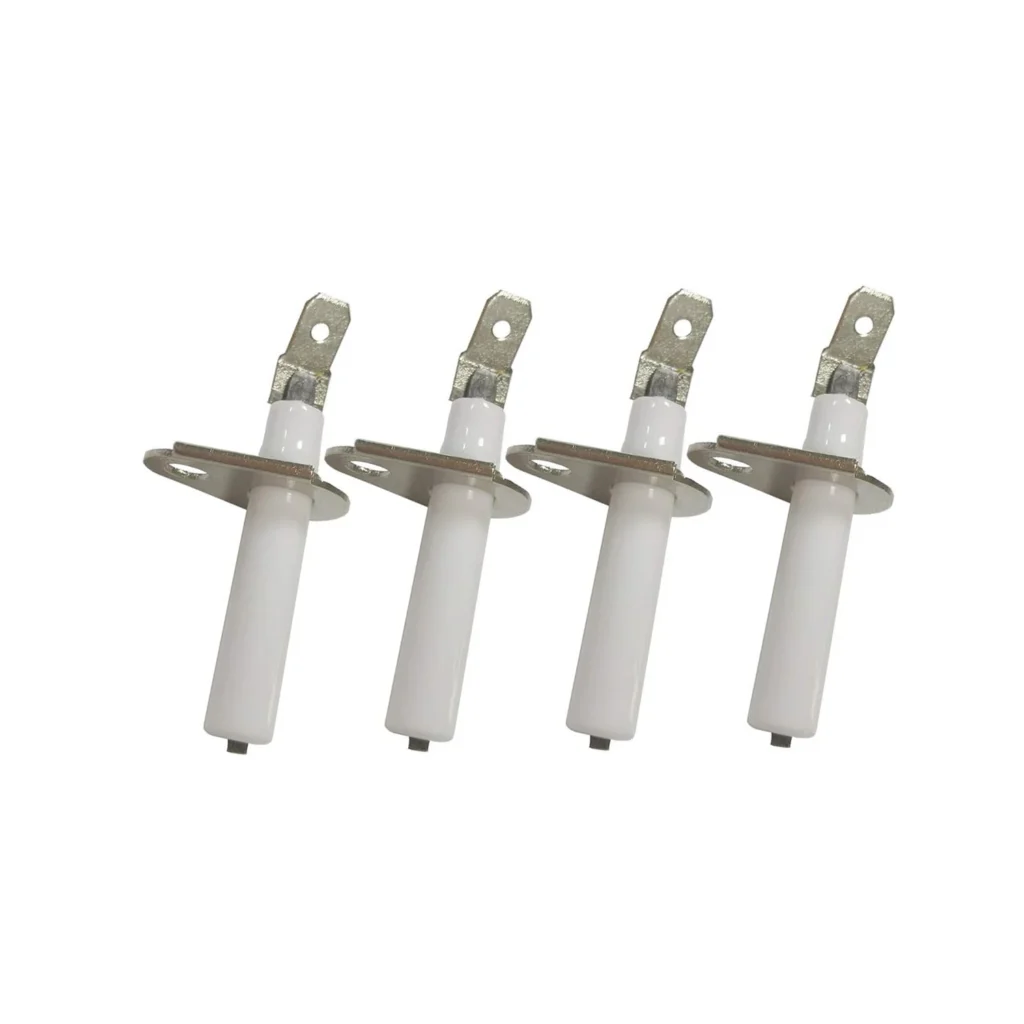
Your gas burner clicks repeatedly but won't light. Or maybe it glows for a few seconds and then just... nothing. You turn the knob, hear that annoying tick-tick-tick, smell a little gas, but no flame. Nine times out of ten, you're looking at a failed spark electrode — the little ceramic-tipped component that creates the arc to ignite your burner.
The 8523793 electrode is the OEM replacement for Whirlpool, Maytag, KitchenAid, Amana, Jenn-Air, and Kenmore gas ranges. It's a surprisingly simple fix, but the part quality matters. As one repair tech put it: "You get really good quality here. Getting to this part to change it would take a while, and it would be even worse if I twisted off a bolt. So I paid the extra bucks and bought a good part, so I wouldn't have to do it again."
What You Need Before Starting
- Phillips head screwdriver
- Flathead screwdriver (for grate removal if needed)
- 1/4" nut driver or socket wrench
- Needle-nose pliers
- Work gloves
- Flashlight or headlamp
Estimated Time: 25-35 minutes
Difficulty: Moderate
Safety First
Turn off the gas supply valve behind or beneath your range before you start. Unplug the stove from the wall outlet completely — don't just turn off the burner knobs. Gas appliances combine electricity and flammable fuel, so taking shortcuts here isn't worth it. Let the cooktop cool for at least 30 minutes if you've been cooking recently.
Step 1: Remove Burner Grates and Burner Caps
Lift off the cast iron grates and set them aside. Remove the burner caps — they just lift straight up. On models like the FGS325RQ0 or CGS365HQ8, you'll see the burner base underneath with the electrode sticking up at about 2 o'clock from the center.
Step 2: Lift the Cooktop
Most Whirlpool gas ranges have a hinged cooktop. Grab the front edge near the corners and lift up — it'll prop open like a car hood, usually with a support rod that clicks into place. You'll now see the underside of the burners and all the wiring. The electrode wire is typically white or cream-colored and connects to a ceramic insulator near each burner.
Step 3: Disconnect the Old Electrode Wire
Locate the electrode wire connector. It's usually a push-on spade connector attached to the electrode terminal. Pull it straight off — don't yank or twist. If it's stuck from years of heat cycling, wiggle it gently with needle-nose pliers. The electrode itself is held in place by a small mounting bracket secured with a single screw or clip.
Step 4: Remove the Mounting Hardware
Use your nut driver or Phillips screwdriver to remove the mounting screw holding the electrode bracket. On some models like the GS440LEMQ0, there's a metal clip instead — slide it off with a flathead screwdriver. Carefully pull the old electrode out through the burner base. Watch for any ceramic debris if the tip has cracked.
Step 5: Install the New 8523793 Electrode
Thread the new electrode through the same hole in the burner base. Position it so the ceramic tip sits about 1/8" to 3/16" away from the burner cap edge — close enough to arc, but not touching metal. Secure the mounting bracket with the screw you removed earlier. Reconnect the wire by pushing the spade connector firmly onto the electrode terminal until you hear a click.
Step 6: Test and Reassemble
Lower the cooktop back down and replace the burner caps and grates. Turn the gas supply back on and plug in the range. Turn on the burner you just repaired — you should hear clicking and see a blue spark at the electrode tip. The burner should light within 2-3 seconds. Test it a few times to make sure it's consistent.
Testing After Installation
Run each burner through a complete cycle: low, medium, and high. The flame should be steady blue with minimal yellow. If you still hear clicking after the burner lights, the electrode might be too close to the burner cap — lift the cap, adjust the electrode position slightly outward, and test again. If the burner won't light at all, double-check that the wire connector is fully seated.
Frequently Asked Questions
Why does my burner click continuously even after it lights?
The electrode tip is either touching metal or positioned too close to the burner cap. This creates a continuous ground path that keeps the igniter clicking. Adjust the electrode so there's a visible gap between the ceramic tip and any metal surface, then test again.
Can I replace just one electrode or do I need to do all of them?
You only need to replace the one that's failed. Electrodes don't wear out at the same rate. However, if your range is 8+ years old and another burner starts having ignition issues within a few months, it might be worth replacing them all at once to save time later.
Will this part work on my Kenmore range?
Yes, if your model number is listed in the compatibility data. Kenmore ranges are typically manufactured by Whirlpool, so the 8523793 electrode (also sold as WP8523793 or AP6012852) is the correct OEM part. Check your burner configuration — it fits models with standard sealed burners, not commercial-style open burners.
Position electrode tip 1/8" to 3/16" from burner cap edge — close enough to spark but not touching metal to prevent continuous clicking.
Need the part for this repair?
8523793 · In Stock · Ships next business day