
How to Replace 242303001 Air Damper Control Assembly on Frigidaire Refrigerator — Step-by-Step
Unplug refrigerator completely before starting repair. Reverse-threaded nuts require clockwise rotation to loosen (lefty-tighty, righty-loosy).
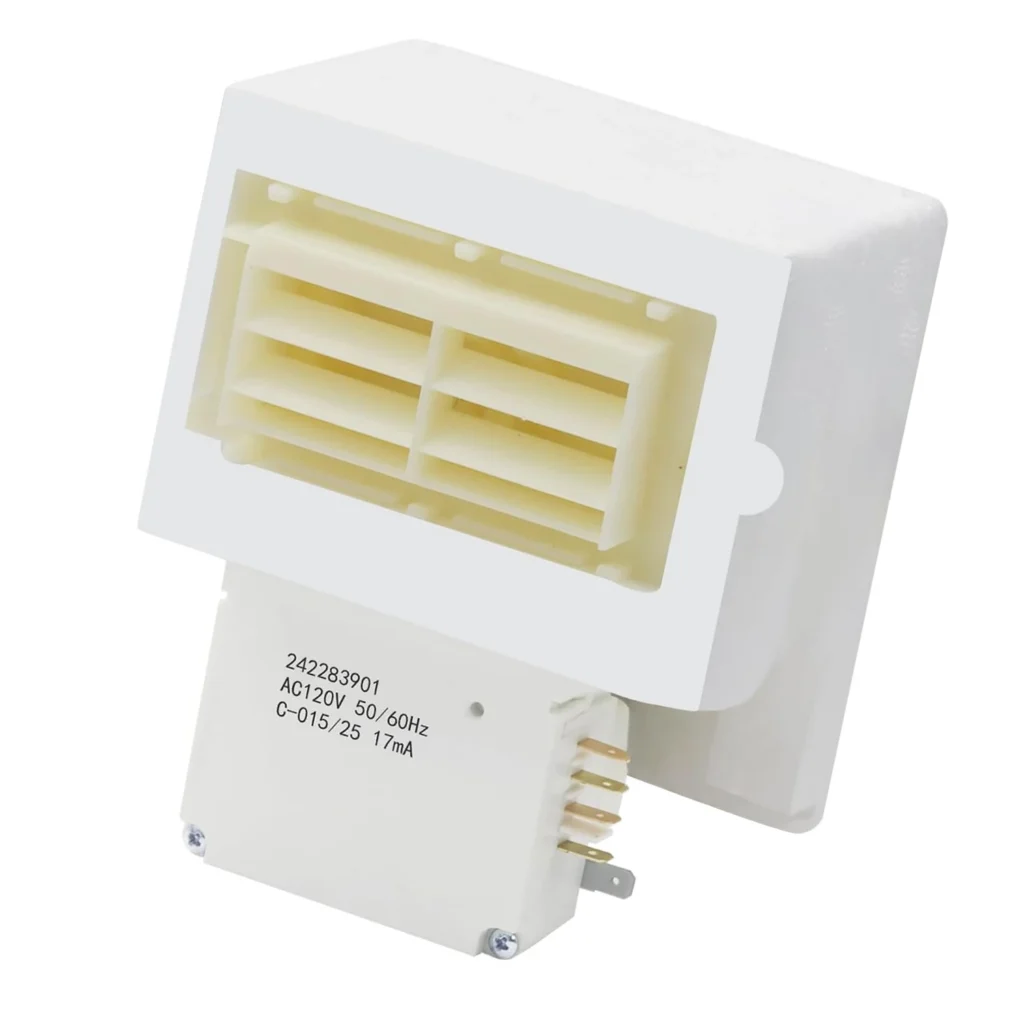
Your Frigidaire refrigerator's running warm but the freezer's rock-solid cold. You open the panel where the temperature controls live and find the damper door stuck shut — no cold air getting through to the fridge compartment. One customer told us: "The damper was stuck in the closed position (bad motor or broken gears)." That's exactly what happens when the 242303001 air damper control assembly fails. The good news? This is a straightforward fix once you understand the quirky reverse-threaded nuts Frigidaire decided to use.
What You Need Before Starting
Repair Time: 1-2 hours
Difficulty: Moderate
Tools Required:
- Nut drivers (including one with a very long, skinny shaft)
- Socket set
- Pliers
- Screwdrivers (Phillips and flathead)
- Flashlight or headlamp
Safety First
Unplug your refrigerator completely before starting this repair. You'll be working near electrical connections and inside the cooling system. Don't rely on just turning off the temperature controls — pull the plug or flip the breaker. Keep a cooler with ice handy for perishables since you'll have the fridge off for 1-2 hours.
Step 1: Remove the Temperature Control Panel
The air damper assembly hides behind the front panel where your temperature controls are located. Remove the screws holding this panel in place — they're usually along the top edge. Here's the critical part: the damper assembly and control panel are connected, so you'll need to remove them together. Wires run through both pieces, which means you can't separate them until everything's out. Gently pull the panel forward about 2-3 inches to access the mounting hardware behind it.
Step 2: Navigate the Reverse-Threaded Nuts
Now for Frigidaire's engineering quirk: all the nuts holding the front panel are reverse-threaded. That means lefty-tighty, righty-loosy — the complete opposite of what your muscle memory expects. Grab your nut driver with the longest, skinniest shaft you have. These nuts sit in deep pockets that standard drivers can't reach. Turn clockwise to loosen each nut (yes, it feels wrong). There are typically 3-4 nuts securing the assembly. Take your time here — stripping one of these because you were turning the wrong direction will complicate everything.
Step 3: Disconnect the Wiring Harness
With the nuts removed, you can now pull the entire temperature control and damper assembly forward. You'll see a wiring harness connecting the damper motor to the main control board. Press the tab on the connector and pull straight out — don't yank on the wires themselves. If there's an ice plug blocking access (common when the damper's been stuck closed), use a hair dryer on low heat for 30-60 seconds to melt it. One DIYer noted they replaced both the damper and thermistor assemblies after their "damper door was shut and would not open" — check your thermistor while you're in here if you've been having temperature issues.
Step 4: Install the New 242303001 Damper Assembly
Position the new damper assembly exactly where the old one sat. The damper door should face into the freezer compartment. Connect the wiring harness first — you'll hear a solid click when it seats properly. Then thread those reverse-threaded nuts back on, turning counterclockwise to tighten (still weird, we know). Don't overtighten — snug is enough. Reattach the temperature control panel to the front, securing any clips or screws you removed in Step 1.
Step 5: Test the Damper Operation
Plug your refrigerator back in and set both compartments to normal cooling temperatures. Within 30 seconds, listen carefully — you should hear a quick "click-click" sound. That's the damper motor cycling the door open. If you don't hear it, unplug and check your wiring connection. Once you hear the click, feel for cold air flowing through the vent into the refrigerator compartment. Give it 2-3 hours to stabilize temperatures, then check both sections with a thermometer. Your fridge should read 37-40°F and the freezer around 0°F.
Testing After Installation
After 4-6 hours of operation, verify these things: First, open the refrigerator and listen near the damper vent — you should hear air movement. Second, check that the freezer isn't accumulating excessive frost near the damper opening (a sign the door isn't closing properly). Third, confirm both compartments are holding proper temperatures. If the fridge is still warm after 8 hours, you may have a thermistor issue in addition to the damper, or the damper door might be binding on something. The damper should cycle open and closed based on the refrigerator's temperature — you might hear that soft click several times throughout the day.
Frequently Asked Questions
Why is my freezer too cold but the refrigerator section is warm?
This is the classic symptom of a failed air damper assembly. The damper door stays stuck closed, blocking cold air from flowing into the refrigerator compartment. All the cooling happens in the freezer while the fridge gets nothing. The 242303001 controls that airflow between compartments, and when the motor or internal gears fail, you get exactly this temperature imbalance. Replacing the damper assembly solves it immediately.
What's the deal with these reverse-threaded nuts?
Frigidaire used reverse threads (lefty-tighty, righty-loosy) on the mounting nuts for the damper assembly panel. Nobody knows why. Just remember to turn clockwise when loosening and counterclockwise when tightening. Use a nut driver with a long shaft because these nuts sit deep in pockets behind the panel. If you turn the wrong direction with force, you'll strip the threads and create a much bigger problem.
How do I know if the new damper is working correctly?
About 30 seconds after plugging in your fridge with the new damper installed, you should hear a distinct "click-click" sound — that's the damper motor opening the door. You can also shine a flashlight into the vent opening to see if the damper door moves. After a few hours, feel for cold air blowing through the vent into the refrigerator section. If you hear the click and feel airflow, your installation was successful. Models like the FFHS2311LBB, FFHS2313L, and FFHS2622M all use this same damper design.
Use a nut driver with a very long, skinny shaft to reach the deep pockets where mounting nuts are located. Listen for the 'click-click' sound 30 seconds after plugging in to confirm proper damper operation.
Need the part for this repair?
242303001 · In Stock · Ships next business day