
How to Replace 5300622032 Heating Element on Frigidaire Dryer — Step-by-Step
Disconnect power completely before starting. Electric dryers use 240V which can be fatal. Verify power is off with a voltage tester.
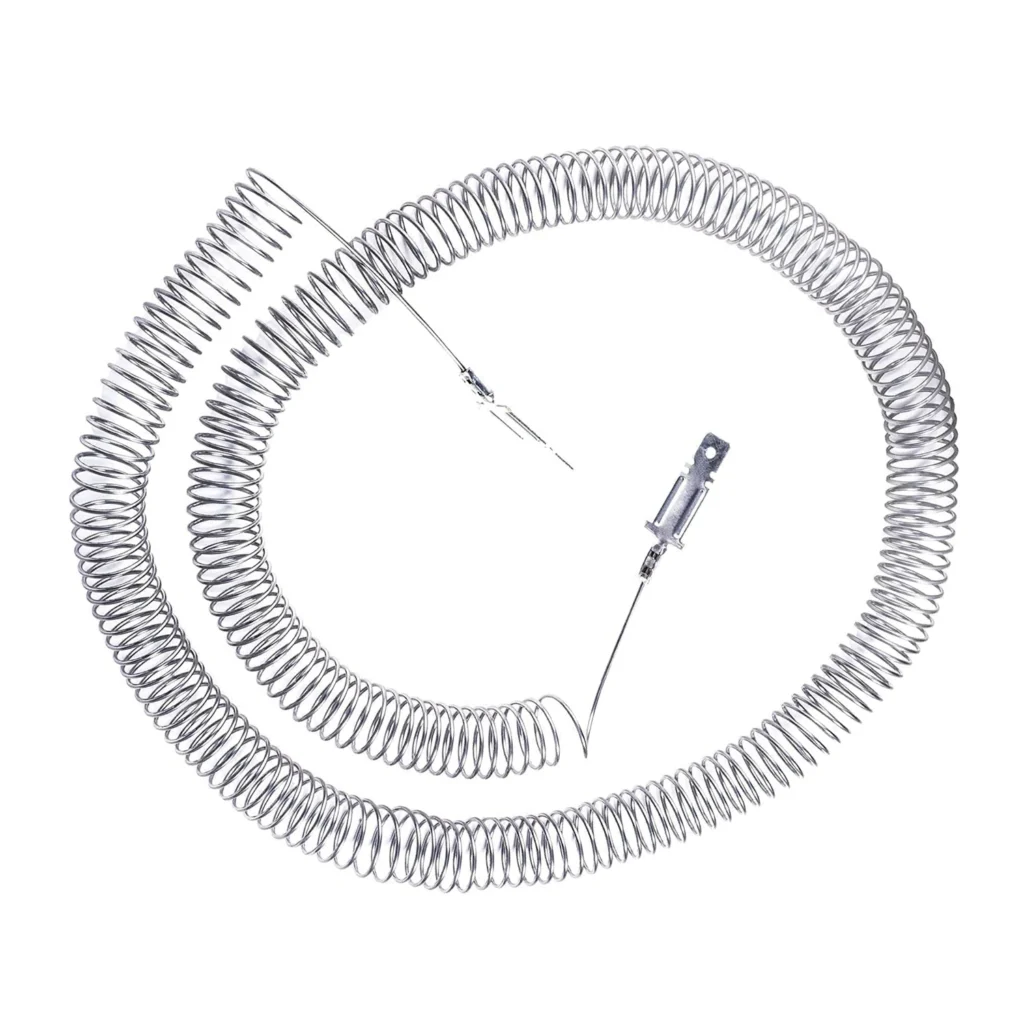
Your Frigidaire dryer's been running for 45 minutes, but when you open the door, the clothes are still damp and cold. The drum spins fine, but there's zero heat. That's the classic sign of a dead heating element — and if you've got a model like the FDE747GES0 or FDE7970EW0, the 5300622032 heating element restring coil is exactly what you need.
This repair saves you $200+ compared to a service call, and it's simpler than you'd think. The heating element coil sits inside the dryer's heating chamber, and when it burns out, your dryer becomes a really expensive clothes tumbler.
What You Need Before Starting
This isn't a complicated job, but having everything ready makes it go smoothly. Here's what you'll need:
- Phillips screwdriver
- Flathead screwdriver
- 1/4" nut driver or socket wrench
- Work gloves (the metal edges are sharp)
- Voltage tester or multimeter
- Camera phone (to photograph wire connections)
Time commitment: 30-45 minutes
Difficulty: Moderate — you'll need to access the heating chamber, but no complex disassembly
Safety First
Before you touch anything, unplug the dryer from the wall. If it's hardwired, flip the breaker at your electrical panel. Electric dryers run on 240V, and that's enough to kill you. Use your voltage tester to confirm there's no power at the terminal block before you proceed. Also, let the dryer cool for at least 30 minutes if you've recently run it — heating elements stay hot longer than you'd expect.
Step 1: Access the Heating Chamber
On most Frigidaire dryers, the heating element is behind a metal panel at the front or rear. For models like the FDE336RES0 and FDE436RES1, you'll find it at the front bottom. Remove the lint filter, then look for the screws holding the front panel. Remove them, then lift the panel up and forward to release the clips. Some models have the heating chamber at the back — if you don't see an obvious access panel up front, check the rear.
Step 2: Remove the Blown Heating Element
You'll see a rectangular metal housing with two or three wire terminals connected to it. Take a photo of the wire configuration — it matters which wire goes where. Disconnect the wires by pulling them straight off the spade terminals. Now remove the screws holding the heating element housing in place. On the 5300622032, there are typically four screws around the perimeter. Pull the entire housing out carefully — it's awkward but not heavy.
Step 3: Test the Old Element (Optional but Smart)
Set your multimeter to measure resistance (ohms). Touch one probe to each terminal on the heating element. A good element should read between 8-12 ohms. If you get infinite resistance (no reading) or zero ohms, the element's definitely bad. This confirms you're fixing the right problem before you button everything back up.
Step 4: Install the New 5300622032 Heating Element
The replacement coil comes pre-mounted in the housing, so you're literally just swapping the assembly. Slide the new heating element into the same position where the old one came out. Line up the screw holes and secure it with the four mounting screws. Don't overtighten — you're screwing into thin sheet metal, and you can strip it out. Reconnect the wires to their original terminals using your reference photo. They should slide on snugly.
Step 5: Reassemble and Test
Replace the front or rear panel, securing all the screws you removed. Plug the dryer back in (or turn the breaker back on). Toss in a few damp towels and run a timed dry cycle for 10 minutes. Within 2-3 minutes, you should feel hot air coming from the vent. Check the drum — if the towels are getting warm and you can feel heat radiating from the dryer, you're good.
Testing After Installation
Run a full 30-minute cycle with a small load of wet laundry. The clothes should come out completely dry and hot to the touch. If they're still damp, double-check your wire connections — a loose thermal fuse wire or limit switch can prevent the element from heating even if it's installed correctly. Also verify the vent hose isn't kinked or clogged, because that can trip the safety sensors.
Frequently Asked Questions
Will this 5300622032 element work on my Gibson or Kelvinator dryer?
Yes, this is a universal element that replaces AP2135127 and PS451031 across Frigidaire, Gibson, Kelvinator, and Westinghouse brands. If your model number is listed in the compatibility chart (like FDE646GES0 or FDE847GES0), you're covered. When in doubt, match the part number on your old element.
Why did my heating element burn out?
Restricted airflow is the number one killer. When lint builds up in the vent, the heating chamber can't dissipate heat properly, and the element coil overheats and breaks. Clean your lint trap after every load and inspect the vent duct annually. Also check the felt drum seals — if they're worn, cool air leaks in and the element cycles too frequently.
How long does a replacement heating element typically last?
With proper maintenance, you should get 8-15 years from a heating element. If you're replacing elements every 2-3 years, you've got an underlying problem — usually poor venting, a bad cycling thermostat, or worn drum seals forcing the element to work overtime. Fix the root cause or you'll be doing this repair again soon.
Take clear photos of wire connections before disconnecting anything. These photos are your roadmap for reassembly and prevent costly mistakes.
Need the part for this repair?
5300622032 · In Stock · Ships next business day