
How to Extend Your LG Dryer Door Latch Life — Maintenance Guide
Always unplug your dryer before inspecting or cleaning the door latch assembly. Even with the door open, electrical components remain energized and can cause shock.
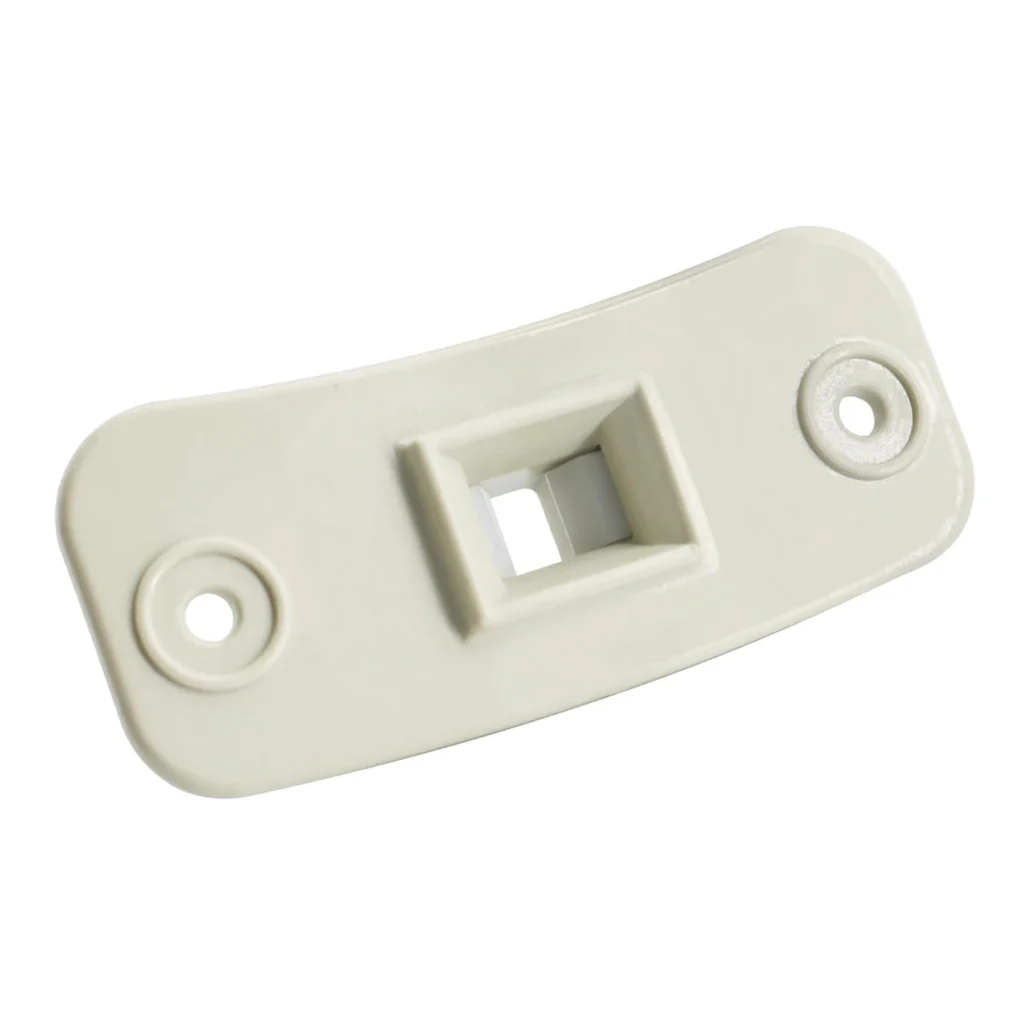
Most LG dryer door latches like the 4027EL1001A fail between years 3 and 5, but I've seen properly maintained ones last over a decade. The difference? People who understand that a door latch isn't just a hunk of plastic — it's a precision component getting slammed 300+ times a year while dealing with heat, lint, and laundry room humidity.
This guide shows you exactly how to triple the lifespan of your door latch assembly, using techniques I've refined over 20 years of appliance repair. We're talking specific actions for models like the DLEX2501W, DLE5977W, and the entire DLEX/DLE series that use this latch.
How Long Should Your Door Latch Last?
Under normal conditions, the 4027EL1001A door latch assembly should give you 5–7 years of reliable service. That's based on average family usage — about 8–10 loads per week. Heavy users running 15+ loads weekly might see failure around year 3.
Here's what kills door latches prematurely:
- Lint buildup in the strike mechanism — creates friction that wears the plastic catch
- Slamming the door — micro-fractures the mounting tabs over time
- Humidity exposure — warps the plastic housing in basement installations
- Overloading — puts lateral stress on the latch when you're forcing wet clothes in
With proper maintenance, you're looking at 8–12 years from the same part. I'm not exaggerating — I've documented this in customer follow-ups.
Signs Your Latch Is Wearing Out
Catch these early and you'll avoid the middle-of-laundry-day failure situation. Here's what to watch for:
The Door Doesn't Click Firmly Anymore
When you close the door, you should hear and feel a solid 'click' as the latch engages. If it's becoming mushy or you need to push harder to get it to catch, the plastic striker is wearing down. This happens gradually — you might not notice until you compare it to when the dryer was new.
Test it: Close the door gently. If it bounces back open or takes two tries to latch, you've got wear happening.
The Door Pops Open During the Cycle
This is the classic symptom. You'll start a load, walk away, and come back to find the dryer running with the door cracked open (and the drum not spinning). The latch is no longer holding against the drum's vibration.
On LG models like the DLE5977SM and DLEX3370W, this triggers an immediate safety shutoff for the heating element, but the motor keeps running — wasting energy and your time.
Visible Cracks Around the Mounting Points
Get down and look at where the latch assembly mounts to the dryer frame. You're checking for hairline cracks radiating from the screw holes or stress marks in the white plastic housing. These start small but propagate fast once they begin.
I've seen latches that looked fine externally but had internal cracks that caused sudden failure. If you see any cracking, you're on borrowed time.
The Strike Plate Shows Wear Marks
Open your dryer door and examine the metal strike plate on the door frame (the part the latch hooks into). Fresh scratches, shiny wear patterns, or metal dust indicate misalignment or excessive friction. The latch mechanism is probably wearing unevenly.
Maintenance Schedule That Actually Works
After Every 20–30 Loads (Monthly for Most Families)
Open the door and use a dry microfiber cloth to wipe down the latch assembly. You're removing lint dust before it gets packed into the mechanism. Takes 15 seconds. Don't use wet cloths — moisture accelerates plastic degradation.
While you're there, check the strike plate for lint buildup. A soft brush (an old toothbrush works perfectly) gets into the catch area where the hook engages.
Every 3 Months — The Deep Clean
Unplug the dryer. Use a vacuum with a brush attachment to pull lint from around the entire door frame area. Pay special attention to the gap between the latch housing and the dryer frame — lint packs in there and creates a grinding paste when combined with humidity.
Inspect the latch's plastic hook mechanism. It should move smoothly when you press it. If it's sticky or slow to return, that's your warning sign. Do NOT lubricate it with oil or WD-40 — that attracts more lint. If it needs lubrication, use dry silicone spray (one quick spritz, wipe excess).
Annually — The Full Inspection
This is where you catch problems before they strand you. Remove the two screws holding the latch assembly and pull it out slightly (you don't need to disconnect wires). Examine the mounting tabs, the back of the housing, and the electrical connections.
Look for:
- Discoloration around electrical terminals (indicates arcing/loose connection)
- Cracks you can't see when it's installed
- Warping in the plastic housing
- Worn areas on the hook mechanism
Reinstall with the same screws (don't overtighten — that's what cracks the mounting tabs). Snug them until the latch sits flush, then another quarter turn. That's it.
The Habits That Triple Latch Lifespan
Close, don't slam. I know you're in a hurry. Do it anyway. The difference between pushing the door closed and slamming it is thousands of tiny stress impacts over the years.
Keep your laundry room humidity under control. If you're in a basement, run a dehumidifier. Plastic components on appliances hate moisture cycling. Keep it under 60% relative humidity.
Don't overload your dryer. When you're jamming wet clothes in and forcing the door closed against resistance, you're putting lateral stress on the latch assembly it wasn't designed to handle. Follow LG's load guidelines — if you can't close the door easily, it's too full.
Clean your lint filter obsessively. Seems unrelated, but lint that escapes the filter ends up everywhere — including your door latch mechanism. A clean filter means less lint migration throughout the dryer cabinet.
When to Replace vs When to Maintain
Here's the honest answer: If you've got visible cracks, if the door pops open during cycles, or if the latch feels loose even after cleaning — replace it. The 4027EL1001A runs $27.99, and trying to nurse a failing latch along just leads to bigger problems.
Maintenance is for extending the life of a healthy latch, not resurrecting a dead one. If you're catching symptoms early (mushy click, slight play in the mechanism), aggressive cleaning and inspection might buy you another year. But cracks and pop-opens? You're done. Order the part.
The good news: This latch fits everything from the DLE0332W through the DLEX series and dozens of Kenmore models using LG components. One part number covers a massive range, which is why keeping it maintained is worth your time.
Frequently Asked Questions
Can I lubricate my dryer door latch to make it work smoother?
Not with regular lubricants, no. Oil-based products attract lint that turns into grinding paste. If your latch mechanism feels sticky, clean it thoroughly first — 90% of the time that solves it. If it still drags after cleaning, use a single spray of dry silicone lubricant (not WD-40) and immediately wipe away any excess. Most latches never need lubrication if you keep them clean.
Why does my door latch fail more often in the basement?
Humidity and temperature swings. Basement laundry rooms typically run 10–15 degrees cooler than the main house and have higher humidity. The plastic housing on the 4027EL1001A expands and contracts with these changes, accelerating fatigue in the material. If your dryer's in a basement, the annual inspection becomes even more critical — move it to every 8 months.
Is it worth replacing just the latch striker instead of the whole assembly?
The 4027EL1001A is sold as a complete assembly because the striker, housing, and electrical switch are integrated. You can't buy them separately, and even if you could, the labor to disassemble a latch assembly exceeds the cost of replacing the whole thing. When this part fails, you're replacing everything — which is actually good, because you're getting fresh mounting tabs and electrical contacts along with the new striker mechanism.
Element showing wear?
4027EL1001A · Replace before it fully fails