
How to Replace W10133449 Refrigerator Inverter Control Board on Whirlpool KitchenAid — Step-by-Step
Unplug refrigerator completely and wait 5 minutes before working on inverter board — high voltage present even when unit appears off
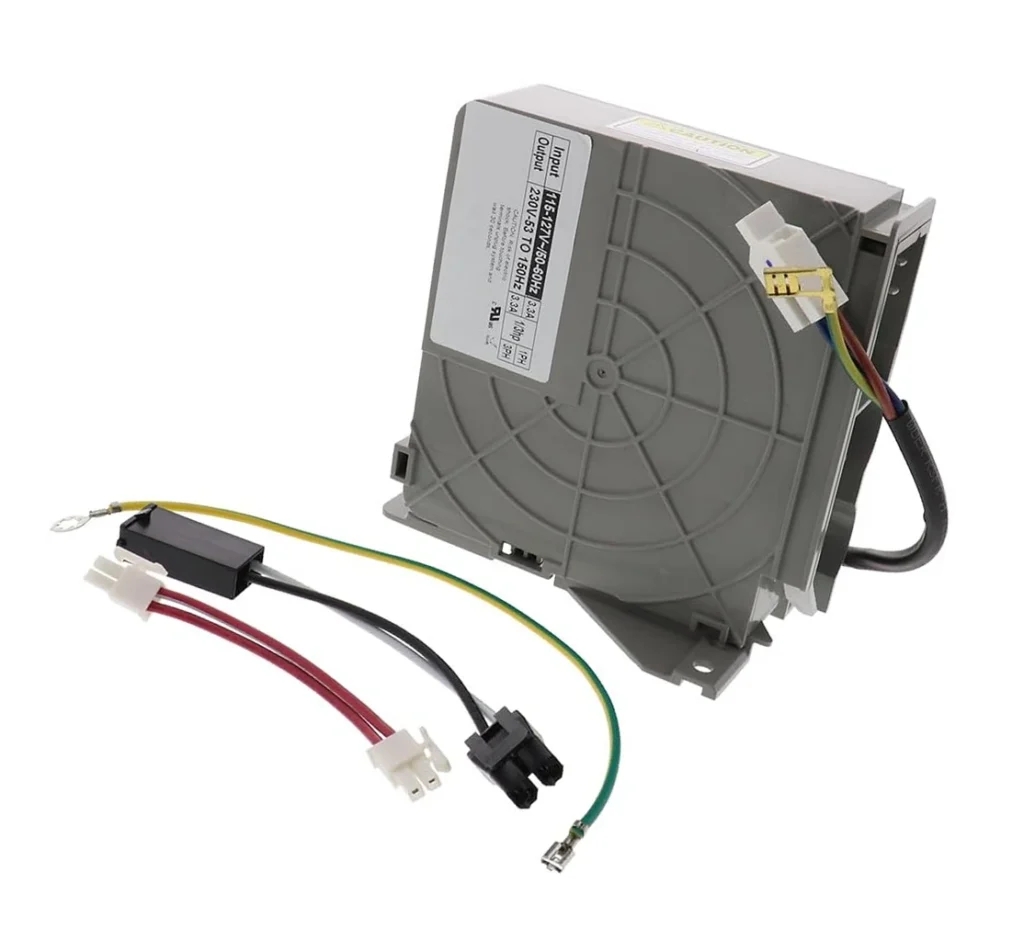
You wake up to a warm fridge and food starting to spoil. Your Whirlpool or KitchenAid refrigerator won't start — no compressor noise, no cooling, nothing. Before you call an expensive repair tech, there's a good chance the inverter control board (W10133449) has failed. This board controls the compressor's variable speed operation, and when it dies, your entire cooling system shuts down.
This repair works for dozens of models including the KitchenAid KSCS25FTMS00, Whirlpool WRS325FDAM04, Maytag MFI2570FEZ00, and Kenmore 106.44023400. The W10133449 replaces older part numbers W10629033, AP5801669, 2304098, and 2997771.
What You Need Before Starting
Gather these tools before you begin:
- ¼-inch nut driver or socket set
- Flathead screwdriver
- Needle-nose pliers
- Digital camera or smartphone (to photograph wire connections)
- Work gloves
- Towels (to protect floor from moisture)
Estimated repair time: 45-60 minutes
Difficulty level: Moderate — Requires careful wire management and location identification
Safety First
This isn't optional. Unplug your refrigerator completely before touching anything. The inverter board carries high voltage even when the fridge appears off. Don't just turn it off at the control panel — physically disconnect it from the wall outlet. If your fridge is hard-wired, flip the dedicated circuit breaker. Give it five minutes for capacitors to discharge before you start working.
Step 1: Locate the Inverter Control Board
Pull your refrigerator away from the wall — you'll need at least two feet of clearance. The inverter control board sits on the back of the unit, typically in the lower section near the compressor. On most Whirlpool and KitchenAid models, it's housed in a metal or plastic cover with ventilation slots. You'll see multiple wire harnesses running into this compartment. Remove the screws securing the cover (usually three or four ¼-inch hex head screws) and set the cover aside.
Step 2: Document and Disconnect Wire Harnesses
Here's where your camera becomes critical. Take clear photos of every wire connection before touching anything. The W10133449 typically has four to six wire harnesses — some for compressor control, others for temperature sensors and power input. Each connector has a locking tab you'll need to press while pulling straight out. Don't yank on the wires themselves; grip the plastic connector housing. Mark each connector position with tape if you're not confident in your photos.
Step 3: Remove the Failed Board
The board itself mounts to a metal bracket with two to four screws. On the KSCS25FTMS00 and similar KitchenAid models, these are Phillips head screws. On Whirlpool WRS series units, they're often hex head. Remove these mounting screws and carefully lift the board away from the bracket. Watch for any grounding wires that might be attached under the mounting screws — you'll need to reconnect these to the new board.
Step 4: Install the New W10133449 Board
Position the new board on the mounting bracket, aligning the screw holes. If there was a grounding wire under the original screws, make sure it's positioned under the new mounting screws. Tighten the screws snugly but don't overtighten — you're screwing into plastic standoffs or thin metal that can strip. Now reconnect each wire harness in reverse order, referring to your photos. You should hear or feel each connector click into place when properly seated.
Step 5: Reassemble and Power Up
Replace the protective cover and secure it with the original screws. Double-check that no wires are pinched between the cover and the refrigerator housing. Push the refrigerator back into position, leaving enough clearance for proper airflow (usually 1-2 inches from the wall). Plug the unit back in or restore power at the circuit breaker.
Testing After Installation
Within 30 seconds of powering up, you should hear the compressor start. It might sound different than before — the inverter controls variable speed operation, so it won't always run at full speed. Place your hand near the compressor; you should feel vibration indicating it's running. Check the display panel to ensure there are no error codes. Give it three to four hours, then verify the temperature in both the refrigerator and freezer compartments. The freezer should reach 0°F and the fridge should hit 37-38°F.
Frequently Asked Questions
How do I know if the inverter board is bad versus the compressor itself?
If the compressor is completely silent and won't start at all, but you can hear the fans running and see the lights working, that points to the inverter board. A bad compressor usually makes clicking sounds as it tries to start, or hums loudly but doesn't actually run. The inverter board failure prevents any startup signal from reaching the compressor — total silence is the giveaway.
Will this work on my Maytag MFI2269VEM4 or other models not specifically listed?
The W10133449 fits over 100 different models across Whirlpool, KitchenAid, Maytag, Kenmore, Amana, and Jenn-Air brands. Check your refrigerator's existing board part number — if it shows W10629033, AP5801669, 2304098, 2997771, or EAP8760019, this replacement will work. When in doubt, remove your rear access panel and photograph the existing board's label before ordering.
My refrigerator started working again after I unplugged it overnight — do I still need to replace the board?
That's a temporary fix. Inverter boards often fail intermittently before dying completely. The fact that a power cycle brought it back means the board's circuits are degrading. You might get a few more days or weeks, but the failure will happen again — usually at the worst possible time, like when you've just loaded $300 worth of groceries. Replace it now while you can do it on your schedule, not during an emergency.
Photograph all wire connections before disconnecting anything — the connectors look similar and incorrect reconnection can damage the new board
Need the part for this repair?
W10133449 · In Stock · Ships next business day