
How to Replace WP9760774 Oven Broil Element on KitchenAid & Whirlpool Wall Ovens — Step-by-Step
Turn off power at the circuit breaker before starting — broil elements run on 240V which can be fatal. Wait 30 minutes for the oven to cool completely.
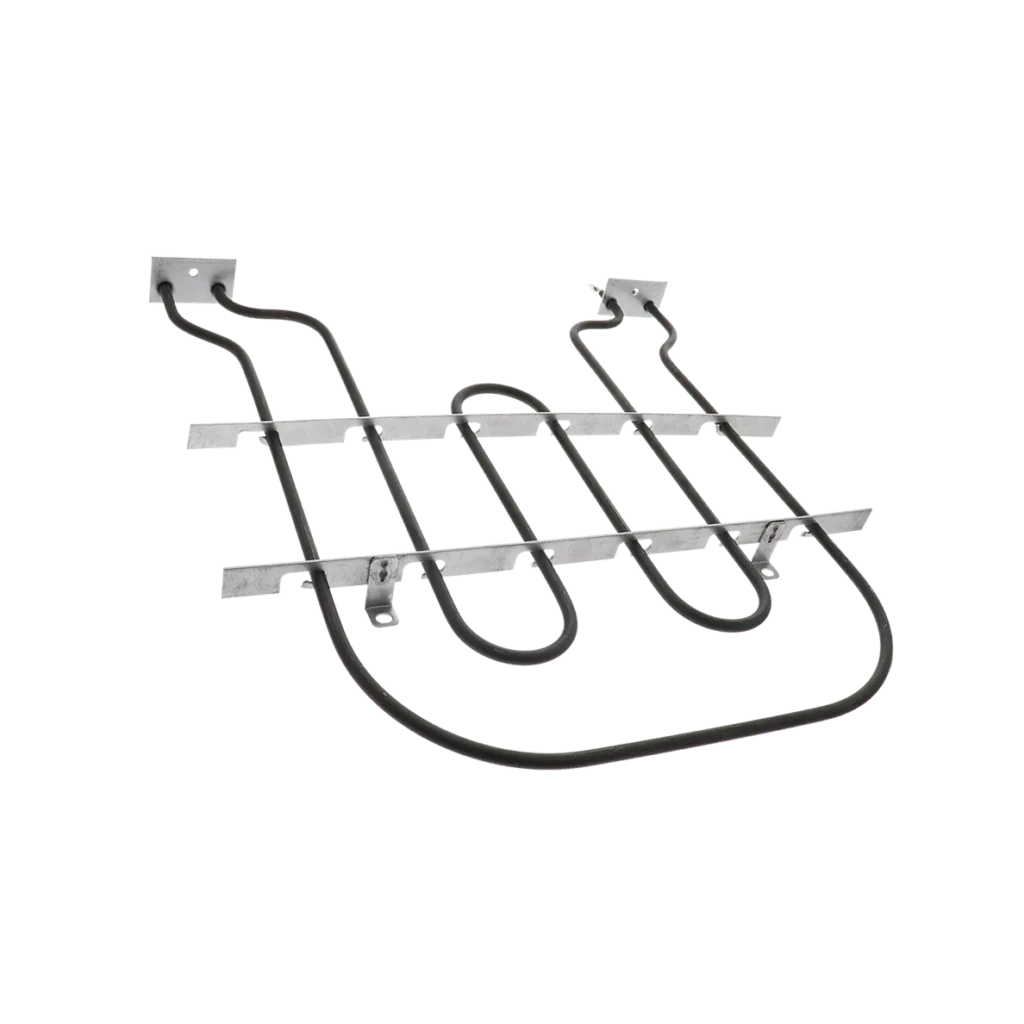
You set your KitchenAid oven to broil, wait ten minutes, and open the door to find your steak barely warm. The broil element glows dull red on one side — or doesn't light up at all. This is the classic sign your WP9760774 broil element has burned out. It's one of the most straightforward oven repairs you can do yourself, and you'll save $200 versus calling a tech.
What You Need Before Starting
Tools required:
- 1/4" nut driver or socket wrench
- Phillips screwdriver
- Work gloves (element brackets can be sharp)
- Flashlight or phone light
Estimated time: 20-30 minutes
Difficulty level: EASY — No special skills needed, just basic tool use.
Safety First
Turn off power at your circuit breaker before you start — not just the oven controls. Broil elements run on 240 volts, which can kill you. Wait at least 30 minutes after the oven was last used so the element and cavity cool completely. If you have a gas range with electric broil, turn off the gas supply valve as an extra precaution.
Step 1: Remove the Oven Racks and Locate Mounting Screws
Pull out all oven racks to give yourself working room. Look at the top of the oven cavity — the broil element is the metal coil mounted to the ceiling. You'll see two or three screws holding the mounting bracket to the oven wall. These are usually 1/4" hex head screws, sometimes Phillips. On models like the KESS907SSS00 and KEBS207SSS00, there's a metal shield covering part of the element — leave that alone for now.
Step 2: Disconnect the Element From the Mounting Bracket
Using your nut driver, remove the screws securing the element bracket to the oven top. The element will drop down slightly — support it with one hand so it doesn't hang by the wires. Gently pull the element forward about 4-6 inches until you can see the wire terminals on the back. The terminals are usually hidden behind a small metal cover plate secured by one more screw. Remove that screw and set it aside.
Step 3: Disconnect the Wire Terminals
You'll see two wire connectors — they're push-on spade terminals. Grab each connector firmly and pull straight off. Don't yank the wires themselves. If they're stuck from heat corrosion, wiggle them gently side to side while pulling. Take a photo with your phone before disconnecting so you remember which wire goes where (though they're usually interchangeable on broil elements). Pull the old element out completely and set it aside.
Step 4: Install the New WP9760774 Element
Slide your new element into position through the opening. Push the wire connectors onto the element terminals — you should feel them click into place. Make sure the connections are snug. Position the element bracket against the oven ceiling and align the screw holes. Thread in the mounting screws and tighten them firmly, but don't overtighten or you'll crack the porcelain. Replace the terminal cover plate if your model has one.
Step 5: Test the Element Before Finishing
Put the racks back in and restore power at the breaker. Set your oven to broil and watch through the window. The element should start glowing red within 60-90 seconds and glow evenly across its entire length. If one section stays dark or you see sparking, shut it off immediately and recheck your wire connections. Once you've confirmed even heating, you're done.
Testing After Installation
Run a full broil cycle with the oven empty for 10 minutes. The element should maintain consistent bright orange-red heat. Open the door carefully (it'll be hot) and look for any dark spots on the coil — there shouldn't be any. Place your hand 12 inches below the element and you should feel intense radiant heat. If everything checks out, your oven's ready for that steak you were planning.
Frequently Asked Questions
Will this element fit my KEMS378SSS00 or KDSS907SSS01?
Yes. The WP9760774 is the correct replacement for virtually all KitchenAid and Whirlpool 30-inch wall ovens and range ovens manufactured after 2010. It directly replaces part numbers 9760774, 8301514, AP6014070, and PS11747304. Check your model number against the compatibility list on the product page if you're unsure.
Why did my original element fail?
Broil elements burn out from repeated thermal cycling — heating to 550°F and cooling back down stresses the metal coil. Most elements last 8-12 years with normal use. If you broil frequently or run self-clean cycles often, expect shorter life. A failed element usually shows visible breaks in the coil or dark spots where the element burned through.
Can I use the bake element while waiting for the broil element to arrive?
Absolutely. The bake element (bottom of the oven) works independently. You can still bake and roast normally — you just won't have broil function until you replace the top element. Some people don't even realize their broil element is dead until they specifically need to broil something.
Take a photo of the wire connections before disconnecting them. Even though broil element wires are usually interchangeable, having a reference photo prevents second-guessing yourself during reassembly.
Need the part for this repair?
WP9760774 · In Stock · Ships next business day