
How to Replace 144001958 Tumble Dryer Drive Belt on Hotpoint, Indesit & Creda Dryers — Step-by-Step
Unplug the dryer completely and wait five minutes before starting work — capacitors can hold charge even when the machine is off.
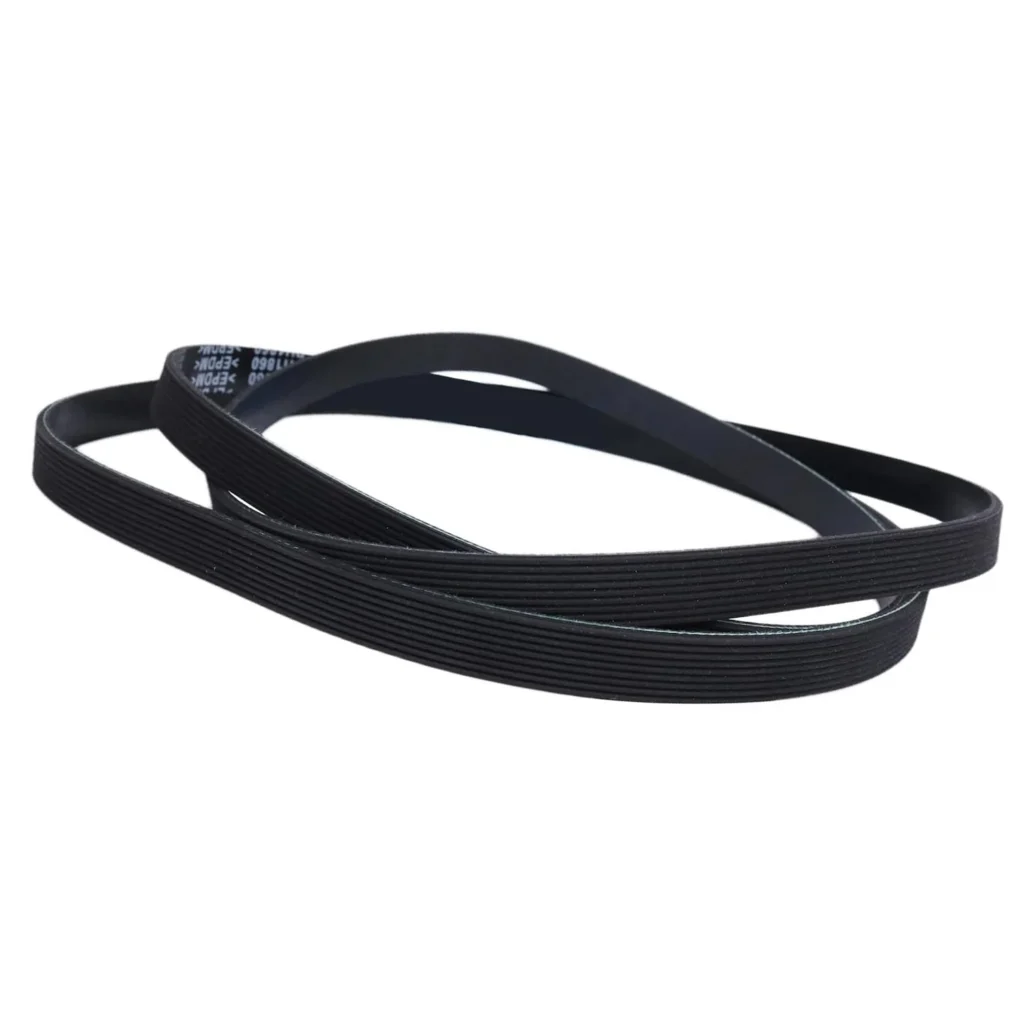
Your Hotpoint TVM570P suddenly stopped tumbling mid-cycle. The drum spins freely by hand, the motor runs, but nothing happens when you hit start. That's the classic sign of a snapped or slipped drive belt — and replacing the 144001958 belt takes about 30 minutes once you know the access points.
This 9PHE 1860 belt works across dozens of Hotpoint, Indesit, Ariston, and Creda models including the TVM series, TVF series, and VTD models. It's the same belt as C00145707 and 1860H9EL if you've seen those part numbers elsewhere.
What You Need Before Starting
- Phillips screwdriver
- Flathead screwdriver or putty knife
- Torx T20 driver (some models)
- Work gloves (belt routing gets tight)
- Flashlight or headlamp
Time required: 30-45 minutes
Difficulty: Moderate
The hardest part isn't removing panels — it's threading the belt around the drum and motor pulley in the tight space. Plan on a few tries to get the routing right.
Safety First
Unplug the dryer completely. Don't just turn it off at the switch — pull the plug from the wall. Some models have a capacitor that holds charge, and you don't want any surprises when you're reaching behind the drum. Let the machine sit for five minutes after unplugging to discharge any residual power.
Step 1: Access the Drum Compartment
Most Hotpoint and Indesit dryers let you in through the top panel. Look for two screws at the back edge of the top — remove these, then slide the top panel backward about an inch before lifting up. On some TVF models, you'll need to pop off a control panel trim first using a flathead screwdriver at the clips.
Once the top's off, you'll see the drum from above. The old belt might be hanging loose or completely snapped. Take a photo of how it routes around the jockey pulley and motor pulley before removing anything — that reference shot saves frustration later.
Step 2: Remove the Front Panel (If Needed)
On TVM and VTD models, you can usually reach the belt from the top. But if your model has a sealed drum housing, you'll need front access. Remove the door, then look for screws inside the door opening (usually four Phillips screws). Lift the front panel up and off its bottom hooks.
With front access, you can lift the drum slightly forward to create slack in the old belt. Support the drum with one hand — it's heavier than it looks without the belt tension holding it in place.
Step 3: Route the New Belt Around the Drum
Loop the new 144001958 belt around the drum with the ribbed side facing in (touching the drum). The smooth side should face out. Rotate the drum so the belt seam sits at the bottom-back where the motor pulley lives.
Here's where it gets tight: reach behind the drum and locate the motor pulley (small wheel) and the jockey pulley (spring-loaded tensioner). Thread the belt under the jockey pulley first, then loop it around the motor pulley. You'll need to rotate the motor pulley by hand while holding tension on the belt to get it seated in the grooves.
The jockey pulley should automatically apply tension once the belt's on correctly. If it feels loose, you've probably missed the motor pulley — double-check your routing against that photo you took earlier.
Step 4: Test Drum Rotation By Hand
Before reassembling anything, spin the drum clockwise several full rotations. It should turn smoothly with slight resistance from the belt. Listen for any rubbing or clicking — that means the belt's twisted or not seated properly in a pulley groove.
Watch the jockey pulley as you rotate the drum. It should move slightly as it maintains tension. If it's completely stationary, the belt's not engaging the tensioner correctly.
Step 5: Reassemble and Test
Reverse your disassembly steps: front panel back on if you removed it, top panel slid forward and screwed down. Don't overtighten the screws — you're threading into plastic or thin metal in most cases.
Plug the dryer back in and run a no-heat cycle for two minutes. The drum should spin immediately without any squealing or slipping. Check behind the dryer for any burning smell — that would mean the belt's rubbing somewhere it shouldn't.
Testing After Installation
Run a full drying cycle with a small load. Listen for unusual noises during the first ten minutes — some new belt squeaking is normal as it seats into the pulleys, but loud squealing means it's misaligned. Check that the drum rotates in both directions if your dryer has a reverse-tumble feature. Measure dry time on your first load — if it's taking twice as long as before, the belt might be slipping due to incorrect tension.
Frequently Asked Questions
How do I know if my dryer belt needs replacing versus the motor?
Spin the drum by hand with the door open. If it rotates freely without resistance, the belt's broken or off. If you hear the motor running but the drum doesn't move, it's definitely the belt. A bad motor won't run at all, or it'll hum without spinning — you'd smell burning if you let it try for more than a few seconds.
Will this belt fit my Creda dryer if it's not listed in the compatible models?
Check your existing belt for the markings "1860 H9" or "9PHE 1860" — if those numbers match, this belt fits. Creda dryers from 2005-2015 used the same belt system as Hotpoint since they're the same manufacturer. Measure your old belt if you're unsure: it should be roughly 1860mm circumference.
Why does my new belt squeal for the first few cycles?
New belts need 2-3 cycles to fully seat into the pulley grooves. The squealing happens as the rubber conforms to the wheels. Make sure you installed it with the ribs facing the drum — if the smooth side's against the drum, it'll slip and squeal constantly. Light squealing that fades after five minutes is normal break-in. Loud squealing that continues means misalignment or debris on the pulleys.
Take a photo of the belt routing before removal — belt path around jockey and motor pulleys isn't always obvious once everything's apart.
Need the part for this repair?
144001958 · In Stock · Ships next business day