
How to Replace 5231EL1003B Lint Filter on LG Dryer — Step-by-Step
Ensure dryer is not running before removing lint filter
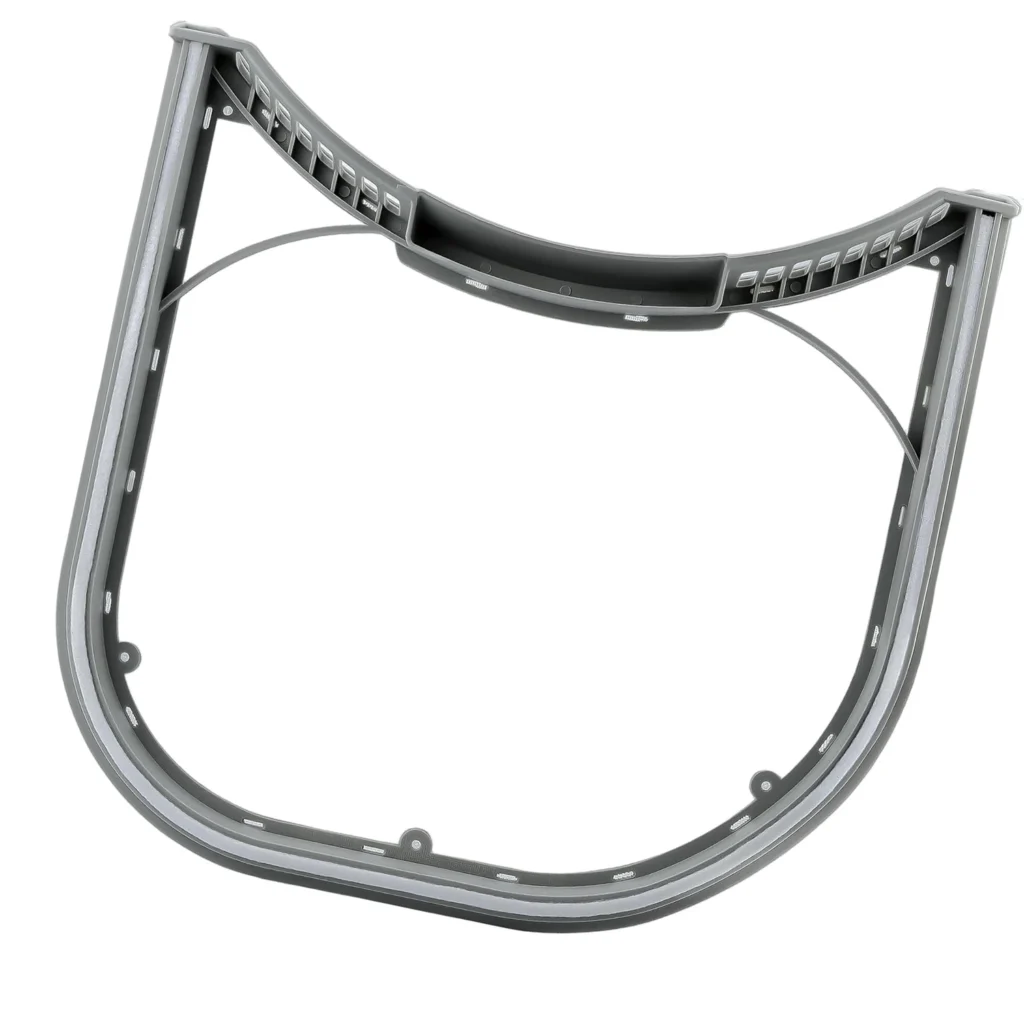
Your LG dryer's taking twice as long to dry a load, and when you pull out the lint filter, you notice cracks along the plastic frame or the mesh is torn. That's the moment you know it's time for a replacement. The 5231EL1003B lint filter is one of the most straightforward parts to replace on your LG dryer — no tools required, and you'll be done in under five minutes.
What You Need Before Starting
Tools Required:
- Your hands (seriously, that's it)
- Optional: vacuum cleaner for lint cavity cleaning
Repair Time: 3-5 minutes
Difficulty: EASY
This replacement works across multiple LG and Kenmore dryer models including DLE2512W, DLE5977W, DLEX7177WM, and dozens more. Check your model number against the compatibility list if you're unsure.
Safety First
Unlike most dryer repairs, you don't need to unplug the machine for a lint filter replacement. However, make sure the dryer isn't running when you remove the filter. The drum should be completely stopped, and the machine should be cool to the touch if it was recently used.
Step 1: Remove the Old Lint Filter
Locate your lint filter — it's in the front door opening, positioned vertically on the right side. Grab the handle and pull straight up. It should slide out smoothly. If you feel resistance, wiggle it gently side to side while pulling. Don't force it — damaged plastic tabs inside can catch, so gentle persistence wins here.
Step 2: Inspect and Clean the Lint Cavity
Now's your chance to do what you probably haven't done in years. Look down into the cavity where the filter sits. See that layer of lint buildup on the walls? Use a vacuum with a crevice attachment to clean it out thoroughly. This accumulated lint reduces airflow and makes your dryer work harder. While you're at it, check for any small items that might've fallen down there — coins, buttons, and hair ties love this spot.
Step 3: Compare the Old and New Filters
Hold your old filter next to the new 5231EL1003B. You'll notice the mesh pattern, the handle height, and the plastic frame dimensions should match exactly. The 5231EL1003B replaces several older part numbers including 5231EL1002E and 5231EL1003A, so slight cosmetic differences are normal. What matters is the fit.
Step 4: Install the New Lint Filter
Take your new filter and align it with the cavity opening. The handle should face you, and the filter should be oriented vertically. Slide it straight down into the slot until it sits flush with the door frame. You'll feel it settle into place — there's a subtle click when the bottom tabs engage properly. Give it a gentle tug upward to confirm it's seated correctly. It should resist slightly but not come out unless you pull with intent.
Step 5: Test the Installation
Close the dryer door and run a quick air-dry cycle for 2-3 minutes with no clothes inside. This verifies the door closes properly with the new filter installed and that airflow is unobstructed. Open the door, pull out the filter, and check if any lint collected on the mesh. If it did, you're good to go.
Testing After Installation
Run your first normal load and monitor the drying time. With a new filter that's not torn or warped, you should notice improved airflow immediately. Clothes that used to need two cycles should dry in one. If drying times haven't improved, you've got a secondary issue — check your exterior vent for blockages or consider that your heating element might need attention.
Why This Filter Fails
Lint filters crack for three main reasons. First, the plastic becomes brittle over years of heat cycling. Second, aggressive cleaning — scrubbing with hard brushes or using harsh chemicals — weakens the frame. Third, fabric softener residue builds up on the mesh, reducing airflow and causing the dryer to overheat, which accelerates plastic degradation. The mesh itself can tear if you've been pulling the filter out roughly or if small metal objects in pockets have punctured it.
Frequently Asked Questions
How often should I replace my LG dryer lint filter?
Most lint filters last 5-8 years with normal use. Replace it immediately if you see cracks in the plastic frame, tears in the mesh, or warping that prevents a proper seal. If your dryer's taking longer to dry clothes and the filter looks damaged, that's your sign.
Can I just repair the mesh instead of replacing the whole filter?
Don't bother. Mesh repair kits exist, but they never seal properly and create airflow gaps that reduce efficiency. At $48.99, the 5231EL1003B is cheap insurance against poor drying performance and potential fire hazards from lint bypass. A torn filter lets lint accumulate inside your dryer cabinet where you can't easily clean it.
Will this filter fit my Kenmore dryer if it's made by LG?
Yes, if your Kenmore model number starts with 796, it's LG-manufactured and uses this filter. Kenmore contracted LG to build many of their dryers from the mid-2000s onward. Check your model number against the compatibility list — if it matches, you're set. The 5231EL1003B works across LG and LG-made Kenmore models interchangeably.
Clean the lint cavity thoroughly while the filter is out — this improves airflow and prevents overheating
Need the part for this repair?
5231EL1003B · In Stock · Ships next business day