
GE Dryer Won't Start or Controls Don't Work — 5 Causes & How to Fix
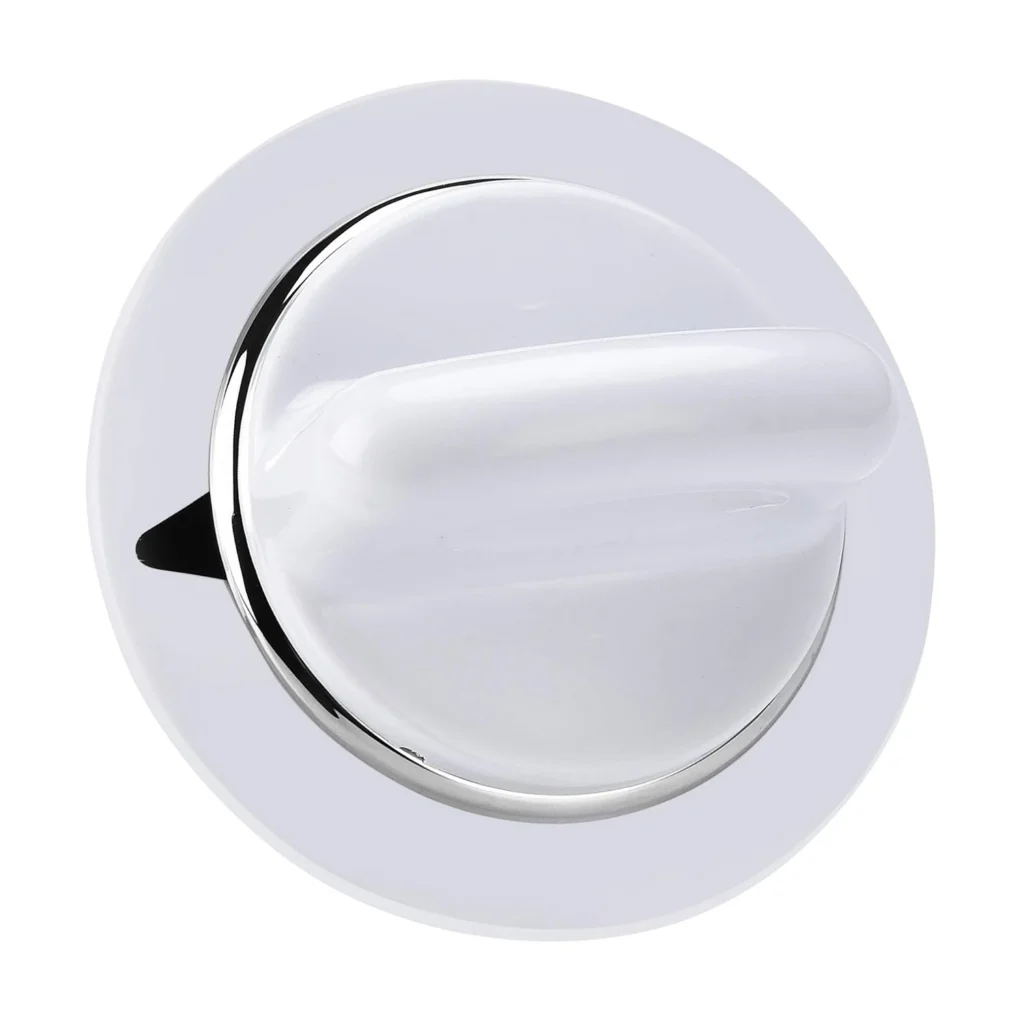
You walk up to your GE dryer, twist the timer knob to select a cycle, and... nothing. The knob spins freely or won't stay in position. One frustrated homeowner described it perfectly: "I was unable to select a cycle — knob wouldn't advance and stay." Before you call a repair service or start shopping for a new dryer, let's troubleshoot what's actually going on.
This issue hits models across GE's lineup — from the DBLR333 series to DBB3300 units — and the fix is often surprisingly simple. We're going to walk through the five most common causes, starting with the cheapest and easiest to fix.
Quick Symptom Check
Before you start diagnosing, verify you're dealing with a timer knob issue:
- The timer knob spins freely without engaging the timer shaft
- You can't select or advance to a specific cycle setting
- The knob won't stay in the position you set it to
- The dryer worked fine yesterday, but today the controls are completely unresponsive
- You can hear or feel the knob slipping when you try to turn it
If you're nodding along to two or more of these, keep reading.
Cause #1: Cracked or Stripped Timer Knob (Most Likely — 65% of Cases)
Here's the thing about plastic timer knobs: they get used dozens of times per week for years. Eventually, the plastic insert that grips the metal timer stem wears down, cracks, or completely strips out. When this happens, the knob just spins uselessly on the shaft.
How to diagnose:
- Pull the timer knob straight off the dryer (it should come off with firm pressure)
- Look inside the knob at the D-shaped insert — this is what grips the timer stem
- Check for cracks, worn edges, or a completely missing insert
- Try placing the knob back on and feel if it grips firmly or slips
One homeowner got lucky when their repair technician diagnosed this over the phone: "The serviceman asked questions and detected that I didn't need a timer unit but thought it was just a knob that was required. He offered to come out but the expense would be considerable. I am SO relieved that it was indeed the knob."
The fix: Replace the timer knob with part WE1M654 ($22.99). You'll literally pull the old one off and push the new one on. Takes about 30 seconds. No tools required, though pliers can help if the old knob is really stuck.
Important note: If the knob insert is damaged or missing, you need to order a new insert inside the knob — some aftermarket knobs come with replaceable inserts.
Cause #2: Damaged Timer Stem (15% of Cases)
Sometimes it's not the knob — it's what the knob attaches to. The metal timer stem can wear down over time, especially if someone's been forcing a stripped knob to turn.
How to diagnose:
- Remove the timer knob completely
- Look at the exposed metal stem protruding from the control panel
- It should have a distinct D-shape with flat and rounded sides
- If the edges are rounded off or the flat side is worn smooth, that's your problem
The fix: You'll need to replace the entire timer assembly. This is a more involved repair requiring you to access the control panel from behind, disconnect wires, and swap out the timer unit. Still doable for a DIYer, but expect 45 minutes to an hour.
Cause #3: Timer Motor Failure (10% of Cases)
Less common, but worth checking: the timer motor itself might've failed. In this scenario, you can set the knob to a position, but the timer won't advance through the cycle automatically.
How to diagnose:
- Set the dryer to a timed cycle and start it
- Watch the timer knob — it should slowly rotate as the cycle progresses
- If the dryer runs but the timer stays frozen in place, the motor's shot
- You might also hear a humming or buzzing from the timer area
The fix: Replace the timer assembly. Same repair as Cause #2, but you're replacing it for a different reason.
Cause #4: Loose Control Panel Mounting (5% of Cases)
If your dryer's been moved recently or you've bumped the control panel, the mounting screws might've loosened. This can make the timer knob feel sloppy and prevent proper engagement.
How to diagnose:
- Gently press on the control panel around the timer knob
- Does it flex or move more than it should?
- Remove the knob and look for visible gaps between the panel and the dryer body
The fix: Access the rear of the control panel (usually requires removing the top panel) and tighten the mounting screws. While you're in there, check that the timer is seated properly in its mounting bracket.
Cause #5: Broken Cycle Selector Switch (5% of Cases)
On some GE models, there's a separate cycle selector switch that works in conjunction with the timer. If this switch fails, you'll have symptoms similar to a bad timer knob.
How to diagnose:
- This requires a multimeter to test for continuity
- You'll need to access the switch behind the control panel
- Test each switch position for proper continuity according to your model's wiring diagram
The fix: Replace the cycle selector switch. This is getting into advanced repair territory.
When to Call a Pro
Look, if we're talking about a stripped timer knob, you can absolutely handle this yourself. It's a $23 part and a 30-second fix. But here's when you should consider calling for help:
- You've replaced the knob and it still won't engage properly
- You're not comfortable working with electrical connections (timer replacement requires this)
- Your dryer is showing multiple problems beyond just the timer knob
- The control panel has visible damage or burn marks
That said, if you've got basic hand skills and can follow a YouTube video, replacing the timer knob is genuinely one of the easiest appliance repairs you'll ever do. Even replacing the entire timer assembly is rated as "Easy" difficulty and takes less than 15 minutes once you've accessed it.
Frequently Asked Questions
Will a stripped timer knob damage my dryer if I keep using it?
Not directly, but here's the problem: if you can't reliably set cycles, you might end up over-drying clothes (wasting energy and wearing out fabrics) or under-drying them (hello, mildew). Plus, you'll drive yourself crazy trying to get the knob to catch. Just replace it — you'll spend more on frustration than the $23 part costs.
Can I use a different brand's timer knob on my GE dryer?
Not recommended. Timer knobs are designed with specific D-shaped inserts to match the timer stem dimensions. The WE1M654 is engineered specifically for GE, Hotpoint, and RCA dryers. It replaces multiple part numbers (AP3995088, WE1M443, WE1M668) precisely because GE used this same design across dozens of models. Using a generic knob might seem cheaper, but if the insert doesn't grip properly, you're back to square one.
My timer knob broke off inside the dryer — now what?
First, don't panic. Grab a pair of pliers (needle-nose work best) and carefully grip whatever remains of the knob or the timer stem. Pull straight out with steady pressure. If the plastic insert broke off completely and you can see the metal stem, the new knob will push right on. If pieces of plastic are stuck on the stem, remove them with pliers before installing the new knob. The stem itself is pretty robust — you'd have to really force things to damage it.
Diagnosed the problem?
WE1M654 · In Stock · Fast shipping