
GE Dryer Won't Start or Timer Not Working — 5 Causes & How to Fix
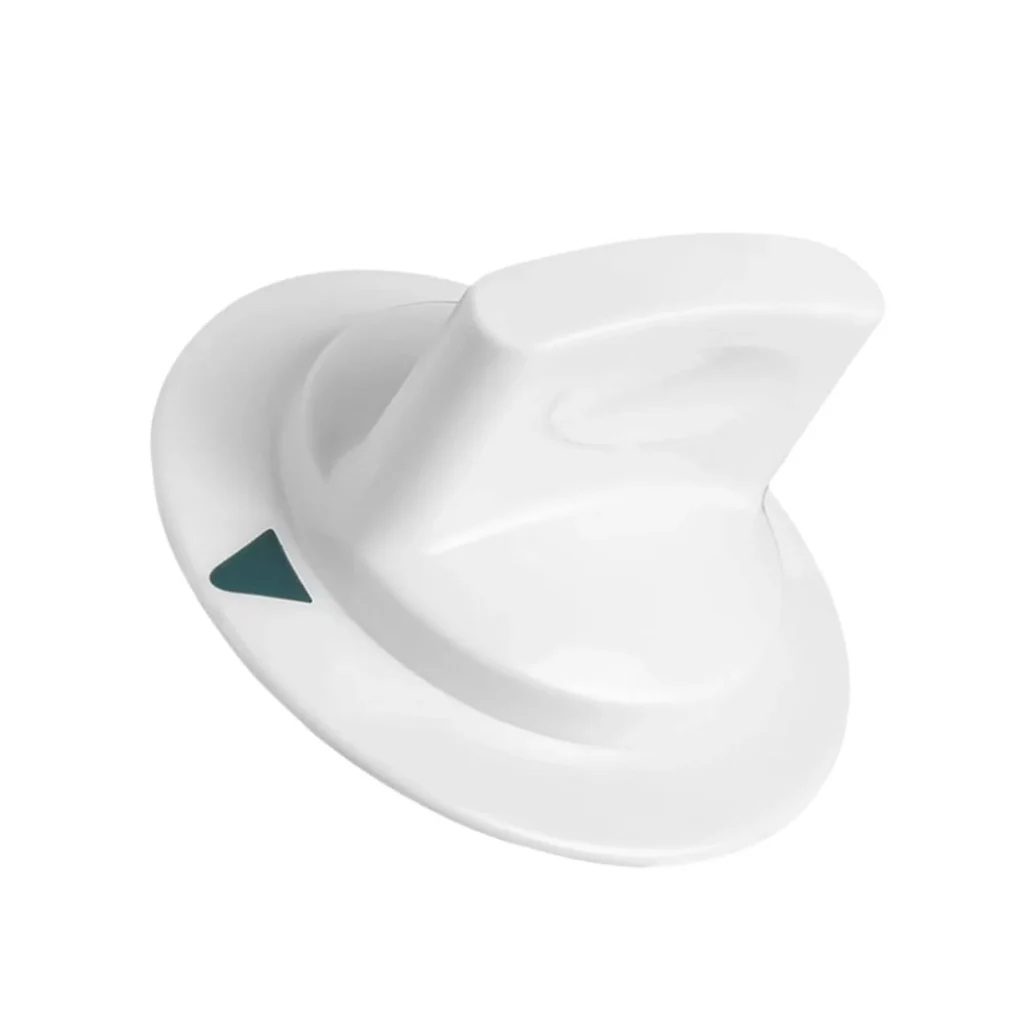
You load the dryer, shut the door, twist the timer knob to 60 minutes... and nothing. No hum, no heat, no tumbling. You try again. Still nothing. Before you assume the worst, there's a good chance your GE or Hotpoint dryer's timer control — or the knob itself — is the culprit. Models like the HTDP120ED5WW and GTDP220EF5WW are notorious for timer-related no-start issues after 5-7 years of use.
The timer knob (part WE1M652) might seem like a simple plastic piece, but when it cracks, strips, or won't engage the timer shaft properly, your dryer becomes a 200-pound paperweight. Let's diagnose what's really going on.
Quick Symptom Check
- Timer knob spins freely without clicking or engaging anything
- You can't turn the knob at all — it's stuck or frozen
- Dryer won't start even when you pull the knob out (on models with pull-to-start)
- Timer advances but dryer doesn't run — the cycle counts down but drum stays silent
- Knob fell off and the plastic D-shaped insert is cracked
Cause #1: Stripped or Cracked Timer Knob (Most Common — 40% of Cases)
This is the easiest fix and the most overlooked. The WE1M652 timer knob has a D-shaped socket that grips the timer shaft. Over years of twisting — especially if someone cranks it hard — the plastic interior wears down or cracks. When that happens, the knob spins but doesn't actually turn the timer mechanism underneath.
How to diagnose: Remove the knob (pull straight off). Look inside the D-shaped hole. If you see cracks, smooth wear, or the hole is now round instead of D-shaped, that's your problem. The timer shaft itself should be intact and D-shaped when you look at the control panel.
Fix: Replace the knob with WE1M652 ($9.99). Takes 30 seconds. Pull off the old knob, push on the new one until it clicks into place. Test immediately.
Cost: $10 | Time: 1 minute | Difficulty: Easiest possible repair
Cause #2: Failed Timer Motor Assembly (25% of Cases)
If the knob itself is fine but the dryer still won't start or advance through cycles, the timer motor assembly behind the control panel has likely burned out. This is a small synchronous motor that rotates the timer cam, opening and closing electrical contacts to control the dryer's functions.
How to diagnose: Set the timer to a cycle and listen closely at the control panel. A working timer makes a faint ticking or humming sound as it advances. No sound at all usually means a dead timer motor. You can also manually advance the timer (turn the knob slowly) — if the dryer starts and runs but won't advance on its own, the motor is shot.
Fix: This requires replacing the entire timer assembly, not just the knob. You'll need to unplug the dryer, remove the control panel (usually 2-4 screws at the top edge), disconnect the wire harness, and swap the timer. Budget 30-45 minutes if you're handy.
Cost: $60-$120 for the timer assembly | Time: 30-45 min | Difficulty: Moderate
Cause #3: Door Switch Failure (15% of Cases)
Here's a curveball: the timer and knob might be perfectly fine. GE dryers won't start if the door switch isn't signaling that the door is closed. The switch is a small plunger-style component mounted inside the door frame. When the door shuts, it presses the switch, completing the circuit.
How to diagnose: Open the dryer door and locate the switch (usually top right or left inside the frame). Press it manually with your finger while the timer is set. If the dryer starts, the switch is bad. You can also test it with a multimeter — unplug the dryer, disconnect the switch wires, and check for continuity when pressed (should read near 0 ohms).
Fix: Replace the door switch. It's held in with a single screw or clip. Swap it out, reconnect the wires, test.
Cost: $12-$25 | Time: 15 min | Difficulty: Easy
Cause #4: Burnt Wire Harness Connection at Timer (10% of Cases)
The timer has a wire harness plug with 6-10 wires feeding power and signals. If one of those connections is loose, corroded, or burnt (often from a small arc), the dryer won't start even though the timer physically works.
How to diagnose: Pull the control panel and inspect the wire harness plug on the back of the timer. Look for black soot marks, melted plastic, or any wires that pull out easily. Smell for burnt plastic.
Fix: If just the connector is damaged, you can replace the harness plug (available as a repair kit) or carefully solder and heat-shrink new connectors. If the timer itself is burnt, replace the entire assembly.
Cost: $15-$40 for harness repair kit | Time: 45 min | Difficulty: Moderate to Advanced
Cause #5: Thermal Fuse Blown (10% of Cases)
The thermal fuse is a one-time safety device mounted on the blower housing or exhaust duct. If your dryer overheats (usually due to a clogged vent), the fuse blows to prevent a fire. Once blown, the dryer won't start at all — no matter how good the timer is.
How to diagnose: Unplug the dryer. Access the thermal fuse (location varies by model — check your manual). Remove it and test with a multimeter for continuity. No continuity = blown fuse.
Fix: Replace the thermal fuse AND fix the root cause (clean your exhaust vent thoroughly). If you don't clean the vent, the new fuse will blow again within weeks.
Cost: $10-$20 for fuse | Time: 20-30 min | Difficulty: Moderate
When to Call a Pro
If you've replaced the knob, confirmed the door switch works, and checked the thermal fuse but the dryer still won't start, you're likely dealing with a failed main control board or motor issue — both require disassembly and specialized testing. At that point, a service call ($100-$150 diagnostic) is worth it to avoid buying parts you don't need.
Also call a pro if you're not comfortable working with electrical connections or don't have a multimeter. Dryers run on 240V, which can be dangerous if you're unfamiliar with proper safety procedures.
Frequently Asked Questions
Can I use a universal timer knob on my GE dryer?
Technically yes, but it's risky. Universal knobs often don't fit the D-shaft precisely, leading to slippage or poor engagement. The WE1M652 is designed specifically for GE, Hotpoint, and RCA dryers (including models HTDP120ED5WW, GTDP220EF5WW, and dozens more). For $9.99, using the exact OEM replacement is the smarter move.
Why does my timer knob keep falling off?
Either the knob's internal D-shaped grip is worn out, or the timer shaft itself is damaged (rare). Pull the knob off and inspect both. If the shaft looks worn or rounded, you'll need to replace the timer assembly. If the knob's interior is smooth or cracked, just replace the knob.
My dryer timer advances too fast or too slow — is that the knob?
No, that's the timer motor assembly itself. The knob is just the interface — it doesn't control timing speed. A timer that runs too fast or too slow means the internal motor or gear mechanism is failing. You'll need to replace the entire timer assembly, not just the knob.
Diagnosed the problem?
WE1M652 · In Stock · Fast shipping