
GE Dryer Timer Knob Won't Turn or Clicks But Won't Start — 5 Causes & How to Fix
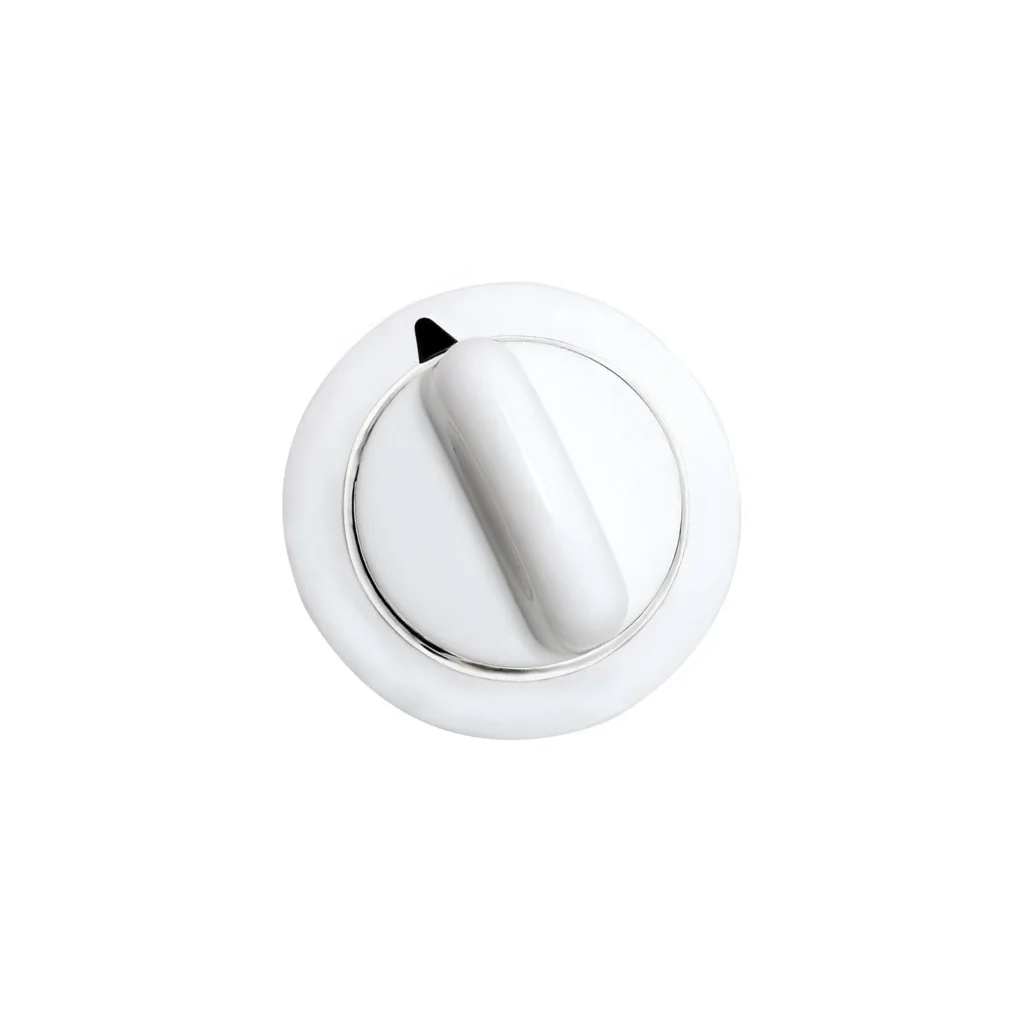
You twist the timer knob on your GE dryer to start a cycle, but nothing happens. Or maybe it clicks and rotates, but the dryer refuses to start. Sometimes the knob itself spins freely without engaging anything underneath. This is one of those frustrating situations where a $20 part — the timer knob (WE01X20374) — could be the culprit, or it might be revealing a deeper issue with the timer mechanism itself.
Before you assume you need a whole new dryer, let's walk through the five most common causes when your GE dryer timer knob won't cooperate. I've seen hundreds of these cases, and about 60% of the time it's something you can fix yourself in under 30 minutes.
Quick Symptom Check
- Knob spins freely without catching anything underneath
- Knob won't budge when you try to turn it
- Clicks or catches but dryer doesn't start the cycle
- Knob fell off or broke completely
- Timer advances but drum won't spin
- Partial rotation — stops at certain positions
Cause #1: Stripped or Broken Timer Knob (40% of Cases)
This is the most common issue, especially on models like the GTDP180ED3WW, GTDP200EM0WW, and GTDP250GM2WW. The plastic knob has a D-shaped or slotted interior that grips the timer shaft. Over years of use — pulling, pushing, kids hanging on it — this interior grip wears down or cracks.
How to diagnose: Pull the knob straight off (it should slide off with gentle force). Look at the inside. You're checking for cracks, worn edges, or a completely smooth interior where the grip pattern used to be. Now look at the timer shaft itself — it should have a matching D-shape or slot pattern.
The fix: If the knob is damaged but the shaft looks fine, you need the WE01X20374 replacement knob. It's a direct plug-and-play part that works across dozens of GE and Hotpoint models. Just align it with the shaft and press firmly until it seats.
Cost: $22.99 for the knob | Time: 2 minutes | Difficulty: Easiest repair you'll ever do
Cause #2: Timer Shaft Damage or Wear (25% of Cases)
Sometimes it's not the knob — it's what the knob connects to. The metal or plastic shaft that extends from the timer assembly can strip, snap, or wear smooth. This is less common than knob failure, but it happens, especially if someone forced the knob when it was stuck.
How to diagnose: Remove the knob and inspect the shaft with the control panel still in place. Can you see obvious damage? Try rotating the shaft gently with pliers (wrap them in a cloth to avoid scratches). If it spins freely without resistance, or if there's visible stripping, you've found your problem.
The fix: If the shaft is damaged, you'll need to replace the entire timer assembly, not just the knob. That's a more involved repair requiring you to access the control panel from behind, disconnect wires, and swap out the timer. Parts run $80–$150 depending on your model.
Cost: $80–$150 for timer assembly | Time: 45–60 minutes | Difficulty: Moderate — you're dealing with multiple wire connections
Cause #3: Timer Mechanism Seized or Jammed (15% of Cases)
The timer itself is a complex mechanical and electrical component with gears, cams, and contacts inside. Lint buildup, moisture intrusion, or just age can cause these internal parts to seize up. When this happens, the knob physically won't turn — you'll feel solid resistance.
How to diagnose: With the knob removed, try rotating the timer shaft by hand. Does it feel gritty, sticky, or completely locked? Compare it to the smooth, deliberate clicks a working timer should make. If you can't turn it at all, or if it feels like grinding gears, the timer mechanism has failed internally.
The fix: There's no practical way to repair a seized timer mechanism. They're not designed to be disassemble and serviced. You're looking at a full timer replacement. The good news? Once you're in there replacing it for a seized mechanism, you'll prevent future knob issues since everything will be new.
Cost: $80–$150 for timer | Time: 45–60 minutes | Difficulty: Moderate
Cause #4: Loose or Missing Retaining Spring (10% of Cases)
Some GE dryer timer knobs use a small spring or clip mechanism to hold the knob in position and provide tension. If this spring has fallen off or broken, the knob might slip, rotate too freely, or fail to engage the timer properly even though both the knob and shaft look fine.
How to diagnose: Remove the knob and inspect the timer shaft area carefully. Look for a small spring, C-clip, or retaining mechanism. Check the floor behind your dryer too — these springs can fall out during previous repairs or just from vibration over time.
The fix: If you find the spring but it's just displaced, reattach it according to your dryer's diagram (check your model manual). If it's lost or broken, you might be able to source a generic spring from a hardware store, but honestly, it's often easier to order the proper WE01X20374 kit which includes all retention components.
Cost: $22.99 for complete knob assembly with spring | Time: 10 minutes | Difficulty: Easy
Cause #5: Timer Works But Other Components Failed (10% of Cases)
Here's the plot twist: sometimes the timer knob and timer mechanism are working perfectly, but the dryer still won't start. You're diagnosing the wrong part. The most common culprits that masquerade as timer problems:
- Door switch failure — dryer thinks the door is open
- Broken belt — drum can't spin even though timer advances
- Thermal fuse blown — safety cutoff prevents operation
- Start switch problem — the push-to-start button has failed
How to diagnose: Does the timer advance on its own when you set it? Do you hear any sounds at all when you attempt to start (motor hum, clicking, buzzing)? Does the drum light come on when you open the door? If the timer physically works but nothing else happens, start testing these other components with a multimeter.
The fix: This depends entirely on which component actually failed. Door switches run $15–$30, belts are $10–$20, thermal fuses are $10–$15. All are DIY-friendly repairs with the right guidance.
When to Call a Pro
Look, I'm all for DIY repairs, but there are times when calling a professional makes sense:
- You've replaced the timer knob and tested the timer mechanism, but you're still getting intermittent operation or strange behavior — might be a control board issue
- You're uncomfortable working with the wiring behind the control panel (though it's simpler than it looks)
- Your dryer is under warranty — don't void it by diving in yourself
- You're seeing multiple failures at once (timer + heating + belt issues) — might be time for a new dryer
A service call typically runs $100–$150 for diagnosis plus parts and labor. If you're only looking at a $23 knob replacement, though, that's absolutely worth trying yourself first.
Compatibility Check: Will WE01X20374 Fit Your Model?
This timer knob works with dozens of GE and Hotpoint dryer models. Here's a sample of confirmed fits:
- GTDP180ED3WW, GTDP180ED4WW, GTDP180ED5WW, GTDP180ED6WW
- GTDP200EM0WW, GTDP200EM1WW, GTDP200EM2WW
- GTDP250EM0WW, GTDP250GM1WW, GTDP250GM2WW
- Plus many GTDP280, HTDP, and HTX models
It replaces older part numbers AP5805160, WE1M856, PS8769912, and WE1M589. If you have one of those numbers from an old repair receipt, you're good to go with the WE01X20374.
Frequently Asked Questions
Why does my GE dryer timer knob keep falling off?
The most common reason is wear on the internal grip mechanism of the knob itself. The plastic wears down over time from repeated use, and eventually it can't maintain a tight grip on the timer shaft. This is especially common if the knob has been pulled outward repeatedly (some people do this thinking they need to pull to turn it). Replace it with WE01X20374 — the new knob will have fresh, unworn grip surfaces that'll hold securely for years.
Can I use pliers to turn the timer shaft if the knob is broken?
In an emergency? Sure, you can carefully use padded pliers to rotate the timer shaft and finish a drying cycle. But don't make this your long-term solution. You risk damaging the timer shaft itself, which would turn a $23 repair into a $100+ timer replacement. Order the knob and install it properly — it takes two minutes and prevents expensive damage.
My timer advances but the dryer won't heat — is that a knob problem?
No, that's not a timer knob issue. If the timer is physically advancing through the cycle (you can watch it move over 5–10 minutes), the timer mechanism is working. Your heating problem is somewhere else — usually a blown thermal fuse, bad heating element, or gas valve issues if you have a gas dryer. The timer controls when things happen, but separate components control the actual heating. Start by checking your thermal fuse with a multimeter.
Diagnosed the problem?
WE01X20374 · In Stock · Fast shipping