
Whirlpool Dryer Door Won't Stay Closed — 5 Causes & How to Fix
You're halfway through drying a load of towels when you hear it — that familiar click-click-click as the dryer door pops open again. You push it closed. It pops open. You push harder. It holds for maybe thirty seconds, then springs back open while the drum's still spinning.
This isn't just annoying. A dryer that won't latch properly is a safety hazard — most models won't run with the door open, but some will cycle on and off, potentially overheating.
The good news? In most Whirlpool, Kenmore, Maytag, and KitchenAid dryers, this comes down to one small part: the door catch assembly (part 279570). Let's walk through what's actually failing and how to fix it.
Quick Symptom Check
Your dryer door issue probably looks like one of these:
- Door pops open during cycle — the catch isn't holding the strike securely
- Door feels loose when closed — you can wiggle it even when "latched"
- You have to slam the door to get it to catch — the mechanism is worn or misaligned
- Door closes but dryer won't start — the switch isn't registering the latch
- Visible cracks or missing pieces on the door catch — plastic has broken from repeated stress
If you're nodding along to any of these, keep reading. We'll go through the most likely causes in order of probability.
Cause #1: Broken or Worn Door Catch Assembly (75% of Cases)
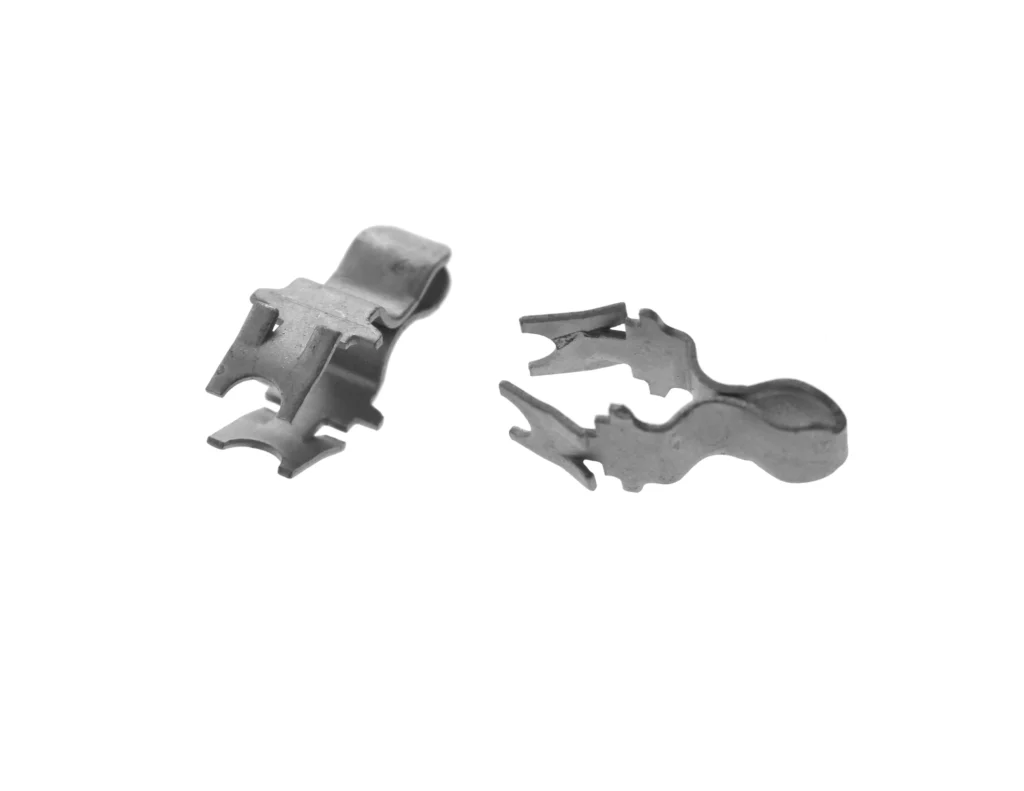
The door catch kit (279570) is a small plastic assembly mounted inside the dryer cabinet that the door striker engages with. It contains both the physical catch mechanism and the door switch that tells the dryer it's safe to run.
Why it fails: Every time you close the dryer door, this part takes the impact. After a few thousand cycles — or one really hard slam — the plastic tabs crack, the catch wears down, or the spring loses tension.
How to diagnose:
- Open the dryer door completely
- Look at the catch assembly on the front panel (usually top right or left)
- Check for visible cracks, missing pieces, or a catch that doesn't spring back when pressed
- Try closing the door gently — if it won't catch unless you slam it, the mechanism is worn
The fix: Replace the entire door catch kit. This is a 15-minute repair with just a screwdriver. The kit includes the catch housing, spring, and door switch — everything you need. Part 279570 fits dozens of Whirlpool-family models including WED9550WL0, WED9470WW2, LTE5243DQ6, and LTG6234AW0.
Cost: $9.99 for the part, $0 in labor if you DIY, or $120–180 if you call a tech.
Cause #2: Bent or Damaged Door Strike
The door strike is the small metal or plastic piece mounted on the door itself that engages with the catch. If it's bent, worn smooth, or loose, it won't seat properly in the catch mechanism.
How to diagnose:
- Close the door and note where the strike aligns with the catch
- Open the door and inspect the strike — look for bent metal, worn edges, or loose mounting screws
- Run your finger along the strike surface — it should have a defined edge, not be smooth and rounded
The fix: If the strike is just loose, tighten the mounting screws. If it's bent, try carefully bending it back with pliers. If it's worn or broken, you'll need to replace it (often comes with the door catch kit or can be ordered separately).
Probability: About 15% of door latch problems stem from the strike rather than the catch.
Cause #3: Misaligned Door Hinges
If your dryer has been moved recently, or if the hinges have loosened over time, the door might not be aligning properly with the catch. The strike will miss the catch mechanism entirely or only partially engage.
How to diagnose:
- Close the door slowly and watch where the strike enters the catch
- If it's hitting high, low, or to one side, you have an alignment issue
- Check the hinge screws — are they tight?
- Look at the door when closed from the side — does it sit flush with the cabinet, or is there a gap?
The fix: Loosen the hinge screws slightly, adjust the door position, and retighten. You might need a helper to hold the door in the correct position while you work. Sometimes adding a washer behind the hinge can help with alignment.
Probability: Accounts for about 5% of cases, usually after a move or if the dryer has been jostled.
Cause #4: Worn Door Switch (Independent of Catch)
Some dryers have a separate door switch from the catch assembly. If the catch is holding fine but the dryer won't start, the switch itself might have failed.
How to diagnose:
- Close the door — does it latch solidly but the dryer won't run?
- Listen for a click when you close the door (that's the switch engaging)
- Use a multimeter to test the switch for continuity when pressed
The fix: The good news is the 279570 kit includes the door switch, so replacing the catch assembly solves this problem too. If your model has a separate switch, you'll need to order it specifically.
Probability: About 3% of door problems are switch-only failures.
Cause #5: Warped Dryer Cabinet or Door
This is rare, but if your dryer has been overloaded repeatedly or the cabinet has been damaged, the door opening itself might be warped. This prevents proper alignment no matter how good the catch and strike are.
How to diagnose:
- Look at the door opening with the door removed — is it square?
- Check if the door itself is warped by laying it on a flat surface
- Look for impact damage or rust that might have distorted the cabinet
The fix: This usually requires professional repair or, in severe cases, replacing the door or front panel. Not a DIY job for most people.
Probability: Less than 2% of cases, typically from physical damage.
How to Replace the Door Catch Kit (279570)
Since this is the fix 75% of the time, here's the quick walkthrough:
- Unplug the dryer — safety first, always
- Open the door and locate the catch assembly — usually held by two screws
- Remove the screws and pull the assembly forward — you'll see a wire connector
- Disconnect the wire harness — press the tab and pull
- Position the new catch kit and reconnect the wires
- Secure with the mounting screws
- Test the door — it should close with a solid click and hold firmly
Total time: 10–15 minutes. No special tools needed beyond a Phillips screwdriver.
When to Call a Pro
This is one of the easiest dryer repairs you can do yourself. But call a technician if:
- You're not comfortable working with any electrical connections (even though you've unplugged it)
- The cabinet or door is visibly warped and needs metalwork
- You've replaced the catch and strike but the problem persists
- The dryer is still under warranty (DIY repairs can void coverage)
Otherwise? Save the $150+ service call and spend 15 minutes fixing it yourself.
Preventing Future Door Catch Failures
Want to get more than a few years out of your next catch assembly?
- Don't slam the door — close it firmly but not aggressively
- Keep the catch area clean — lint buildup can prevent proper engagement
- Check alignment after moving the dryer — even a small shift can throw things off
- Replace both the catch and strike together — worn parts on one side accelerate wear on the other
Frequently Asked Questions
Will the dryer run with a broken door catch?
Most modern dryers won't start if the door switch isn't engaged — that's a safety feature. Some older models might run intermittently as the door bounces open and closed, which creates a fire hazard from overheating. Don't try to bypass the switch; just replace the catch assembly.
Can I use the 279570 catch kit on Kenmore and Maytag dryers?
Yes. This is one of those parts that crosses brand lines because Whirlpool owns Maytag, KitchenAid, and Roper, and Kenmore dryers were manufactured by Whirlpool. Part 279570 fits dozens of models across all these brands. Check your model number against the compatibility list to confirm — it works on models like WED9550WL0, LTE5243DQ6, LTG6234AW0, and many others.
How long does a door catch assembly typically last?
You'll usually get 5–10 years depending on how often you use the dryer and how hard you close the door. Families doing multiple loads daily will wear it out faster than someone doing laundry once a week. The plastic components simply fatigue over time from repeated impact and the spring loses tension. It's a normal wear item, like brake pads on a car.
Diagnosed the problem?
279570 · In Stock · Fast shipping