
Whirlpool, Maytag & KitchenAid Oven Broil Element Parts — Models & Compatibility
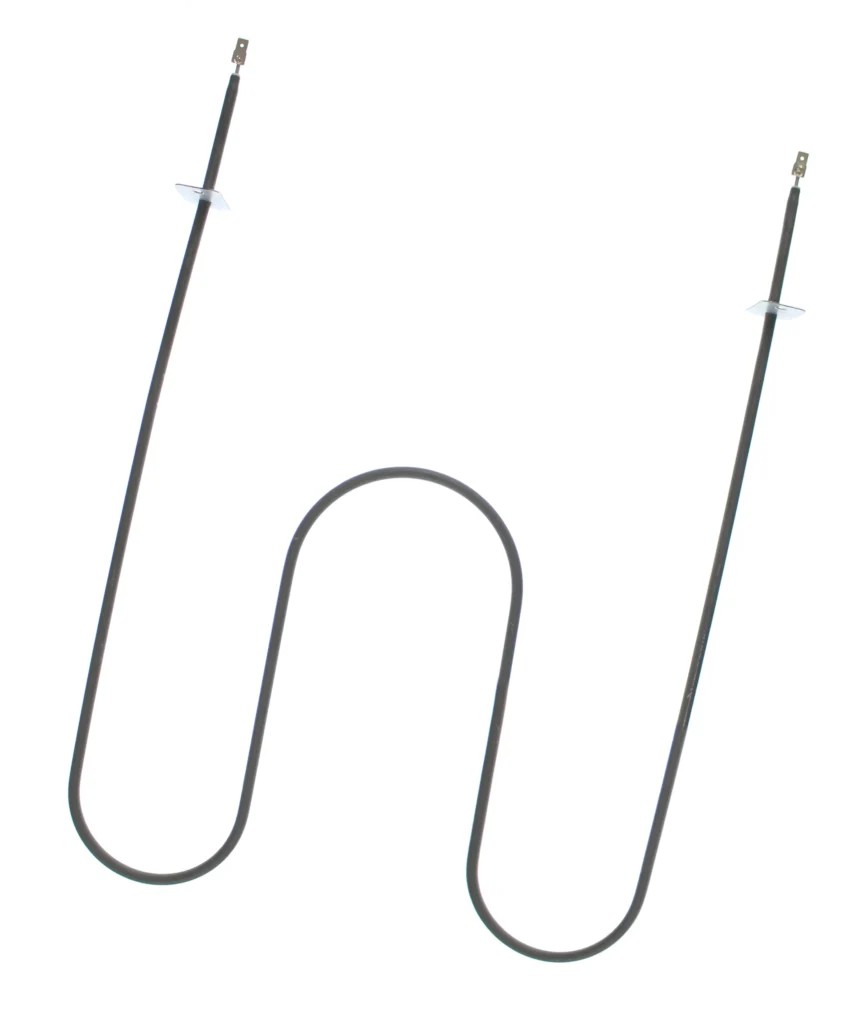
Your broiler stopped heating. The oven bakes fine, but when you flip to broil mode — nothing. That's the classic sign of a failed broil element. This W10201551 replacement fits dozens of Whirlpool, Maytag, Jenn-Air, KitchenAid, and Kenmore electric ranges, particularly the popular MER6770 and MER6775 series.
This hub covers the W10201551 broil element — what models it fits, how to verify compatibility, and what you need to know before ordering.
Is This the Right Part for Your Model?
Start with your model number. On most ranges, you'll find it inside the oven door frame (open the door and look along the front edge) or on a tag inside the storage drawer. It typically starts with MER, KFEG, JER, or another brand prefix.
This element fits the MER6770AAB, MER6770AAQ, MER6770ACW, MER6771AAQ, MER6772BCS, MER6775AAB, MER6775AAQ, MER6775AAS, MER6775AAW, MER6775BAF, and many others. Cross-reference your full model number with the compatibility list below before ordering.
About This Replacement Broil Element
The broil element is the U-shaped or straight heating coil mounted to the top of your oven cavity. When you select broil mode, it glows red-hot and radiates intense heat downward for searing, browning, and caramelizing. Over time, these elements develop hot spots, crack, or burn through completely — especially if they've been exposed to grease splatter or physical impact from oven racks.
The W10201551 replaces several older part numbers including AP4365339, 74004106, PS2342087, and 1471986. If you've got one of those numbers written down from a previous repair, this is your updated replacement. It's a direct fit — same mounting holes, same electrical connections, same wattage rating.
Why Broil Elements Fail
Most broil elements fail from thermal cycling — repeated heating and cooling stresses the metal until it develops a weak spot. You might see a blister or bulge before it breaks, or it might just stop heating one day with no warning. Grease fires accelerate failure because the sudden temperature spike weakens the coil's protective coating.
Some ranges show an F3 or F9 error code when the broil element shorts out, but many older models won't throw any code at all — the broiler just won't work.
What's Included
You're getting the broil element itself with pre-attached wire leads and mounting brackets. The terminal block (where the wires connect) usually stays with your range — you'll disconnect the old element and connect this one using the existing wiring. Most installations take 20-30 minutes with basic hand tools.
Compatible Model Series
This element works across multiple brands because Whirlpool Corporation owns Maytag, KitchenAid, and Jenn-Air — they share components across product lines. Common series include:
- Maytag MER6770 series: MER6770AAB, MER6770AAQ, MER6770ACW
- Maytag MER6775 series: MER6775AAB, MER6775AAQ, MER6775AAS, MER6775AAW, MER6775BAF, MER6775BAB
- Maytag MER6771 series: MER6771AAQ
- Maytag MER6772 series: MER6772BCS
- Maytag MER6751 series: MER6751AAQ, MER6751AAW
- Maytag MER6755 series: MER6755AAQ, MER6755ACS
Check the full compatibility chart on the product page — it lists hundreds of model numbers by brand. If your model isn't listed but you've got an older Whirlpool-family range with a failing broiler, compare the physical dimensions of your current element. Most 30-inch ranges from 2005-2015 use this same part.
Before You Order
Disconnect power at the breaker before inspecting your current element. Look at how it mounts — most broil elements use two screws at the back wall and plug into a terminal block. If your element is held in with spring clips instead of screws, double-check your model number because you might need a different design.
Measure the overall width if you're unsure. This element is approximately 16-18 inches wide (standard for 30-inch ranges). If you've got a 24-inch apartment-size range, verify compatibility first.
Installation Tip
When you remove the old element, take a photo of the wire connections before disconnecting anything. The terminals are usually color-coded or marked, but a reference photo makes reassembly foolproof. Support the new element while you're tightening the mounting screws — don't let it hang by the wires.
Run a test broil cycle after installation to confirm it's heating evenly across the entire coil. Give it 5 minutes on high broil — the element should glow uniformly red-orange. If one section stays dark, you've got a loose connection or a defective part.
Can't find your model?
Enter your model number and we'll confirm the right part.